Complete guide to using JW Time
The JW Time 4.2 series adds media previews on the Timer Display, messages on the Public Display, and Settings protection.
At the first start JW Time shows a wizard that collects the essential settings before opening the app. This is the recommended path for a new installation, because it avoids having to search for each option right away in the settings panels.
At the end of the wizard you can open JW Time and complete only the more advanced options, such as Media, Web Server, Recordings and Backups.
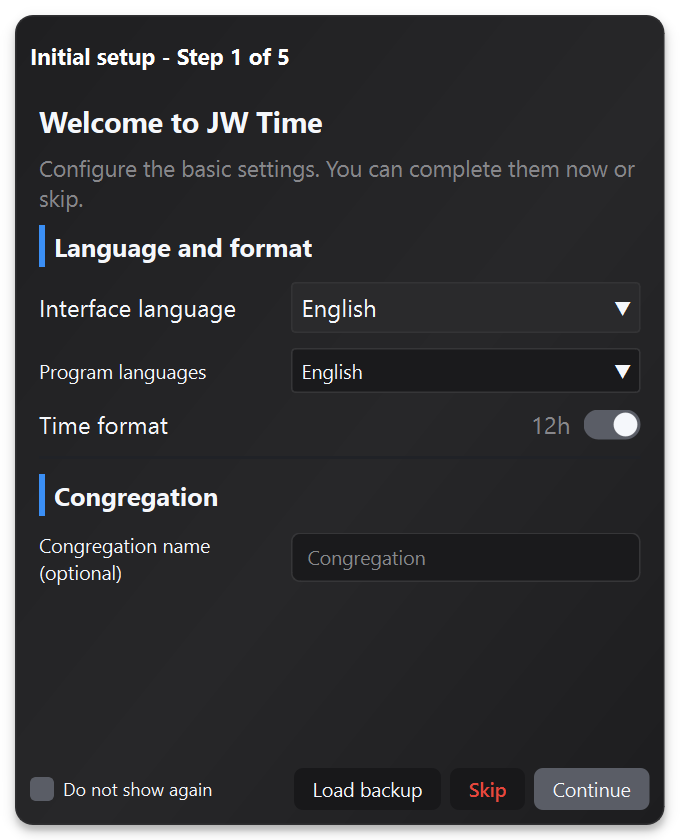
If you close or skip the wizard, you can manually configure the essentials from Settings and the main window. This checklist also serves as a quick check before the meeting.
Go to section 9 · General for language and time format, then to section 10 · Congregations if you need to create or select a profile. Check that loaded schedule corresponds to the week and the desired language.
In the section 12 · Screen select the correct monitors and activate the windows you will use. To change the appearance of the Time Counter Screen see section 5.3 · Customizing the Time Counter Screen.
Open the section 4 · Media Window to check songs, videos and images of the week. Cache, quality and background options are in section 13 · Media.
Use the main window to start timers, send messages to the Time Counter Screen and open the REC panel. If you record meetings, first check the options in section 16 · Recordings.
If you use remote control, QR or browser consultation, configure section 15 · Connection and Server. To work without a network or transfer configurations, check section 17 · Packages and offline backups.
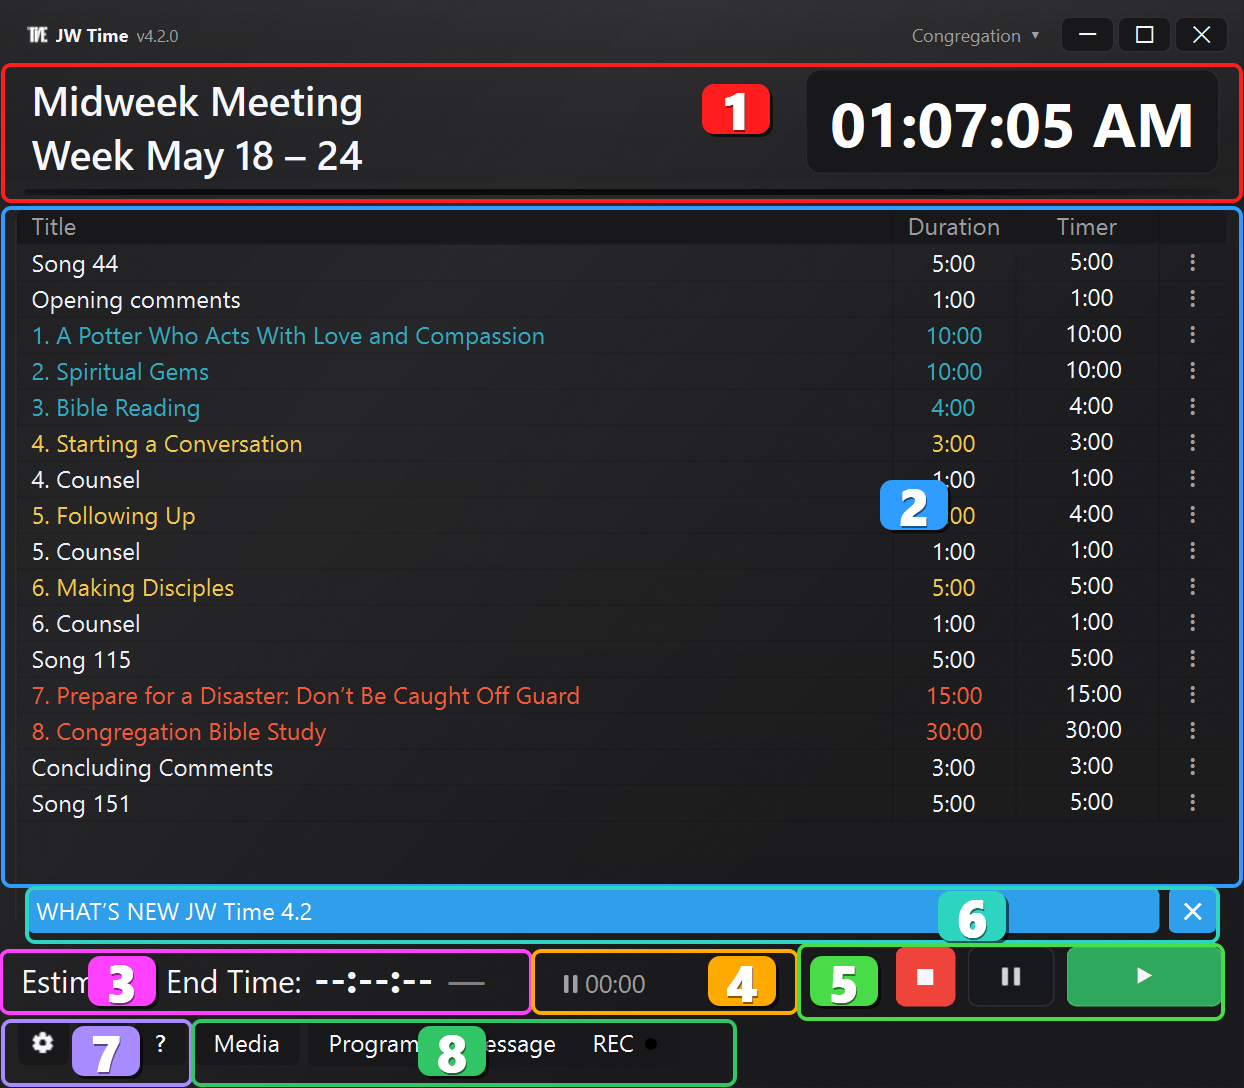
The main screen is the heart of the application. From here you can start, manage and monitor all timers of the meeting, view key information such as the title of the current part, the clock and the time residue, as well as checking important messages and notifications.
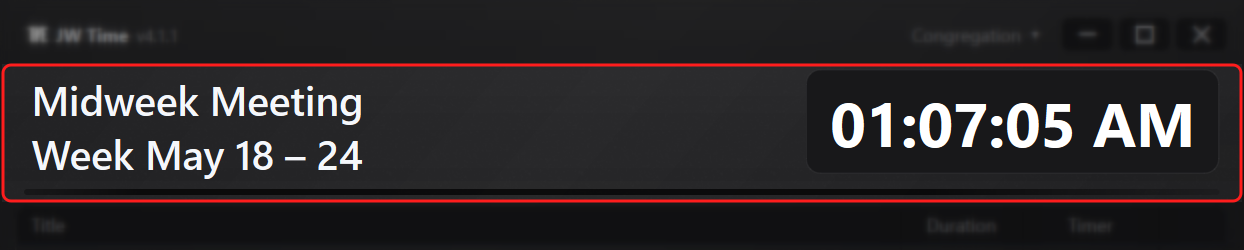
The title of the part in progress is shown in the top line, while the clock with the current time or, when you start a timer, the countdown of the remaining time. In 12 hour format also appears AM/PM suffix in smaller size to improve readability.
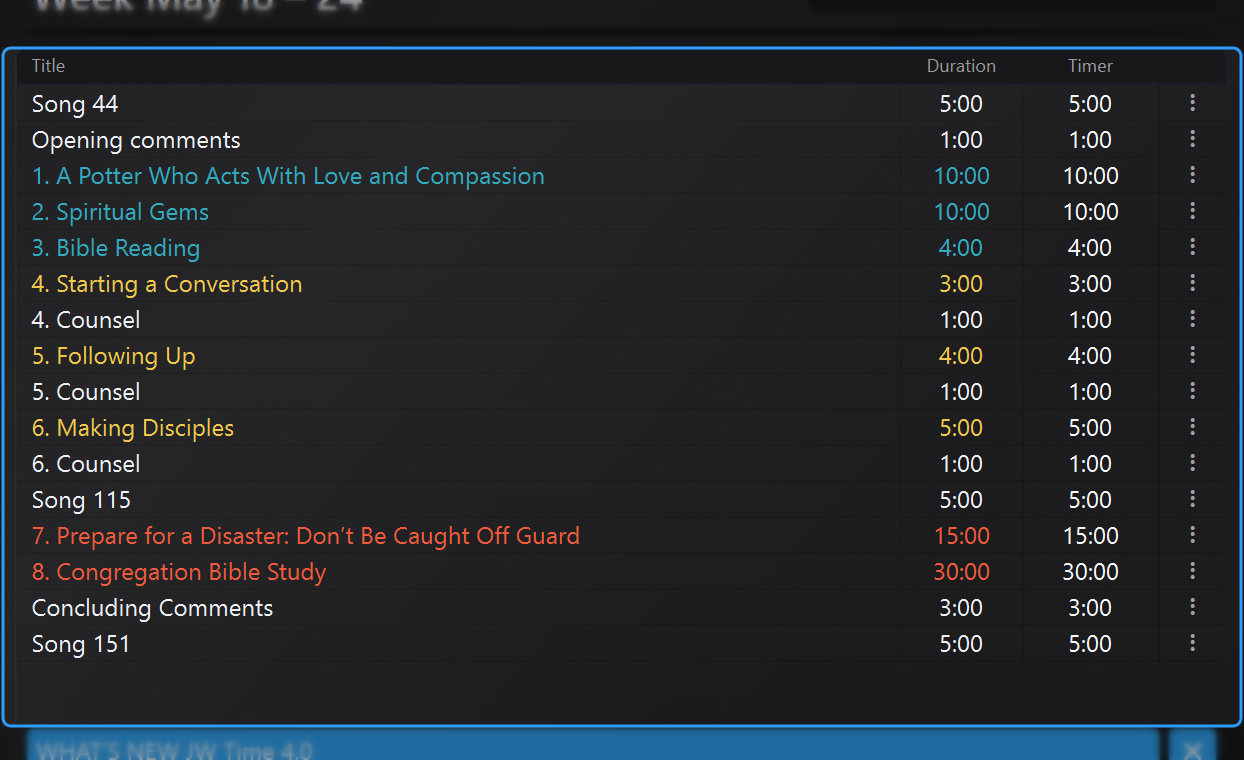
Lists the meeting agenda (title, duration, status). Content loads automatically based on the day selected: the app recognizes whether it is Midweek or Weekend and proposes the correct schedule. For the buttons and detailed actions see section 3 · Manipulating timers.
If you enable Show End column in General settings, the table also shows when the current part and each upcoming part would end. It is not a fixed schedule time: it is a live projection based on the current time, the remaining timers and any accumulated timing offset.
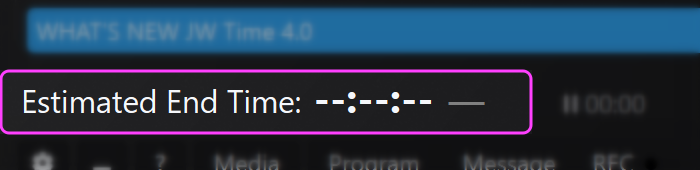
Shows the expected closing time based on the schedule. The deviation appears next to:
+m:ss (yellow within 1', red beyond) = delay
−m:ss (green) = advance
The time and indicator are updated in real time. If the adaptives for Bible Study / Tower of are active
Guard, the durations are recalculated to fit within the closing time.
Cumulative counter hh:mm:ss of technical pauses/speaker change: sums the time in which the timer is been paused. During the pause the part timer remains stopped while this counter increases. One click on the indicator it resets the total to zero.
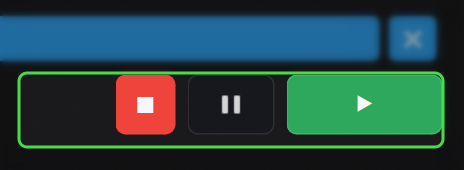
Controls to start, stop and manage timers: Stop (red), Pause, and Start/Next (green). The Pause button pauses the part timer (the count remains stopped) while the pause/change time speaker continues to increase. To exit the pause, press Pause again or skip to the next part with Start/Next: the accumulated time is recorded in the counter referred to in point 1.4.

When there are official communications for the app, a "News" box/alert appears on the Main Screen. Clicking it opens the panel with the update summary.
Quick buttons to open settings, minimize or restore the window, and access help. They are separated from the operating modes to leave the bottom line lighter.

From here you can switch to the Media Window, Program management, Messages and the REC panel. The black dot next to REC indicates the recording status.
This section illustrates how to load the correct schedule for the week, create a manual schedule when needed and Quickly scroll through previous, current and next weeks.
By default, the app automatically loads the current week's lineup: midweek from Monday to Friday and the weekend one on Saturday and Sunday.

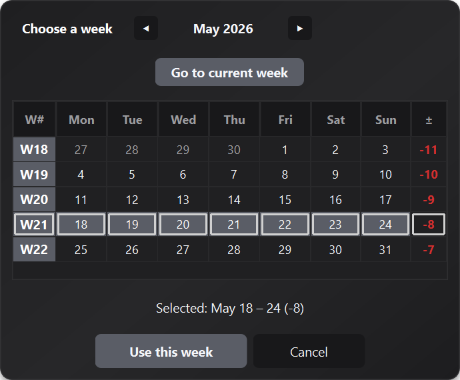
The Week button always shows the range (e.g. "Week: 20 – 26 Oct.") with a badge which indicates the offset from the current week (0, +1, -2, etc.). One click opens the compact calendar for jump directly to the desired week without scrolling the Previous/Next buttons several times.
The Visit SC, located between the Week selector and Load from backup, transforms the schedule when the circuit overseer's visit is present. When pressed, the button lights up (ON) and the app automatically prepares the special parts planned for the visit.
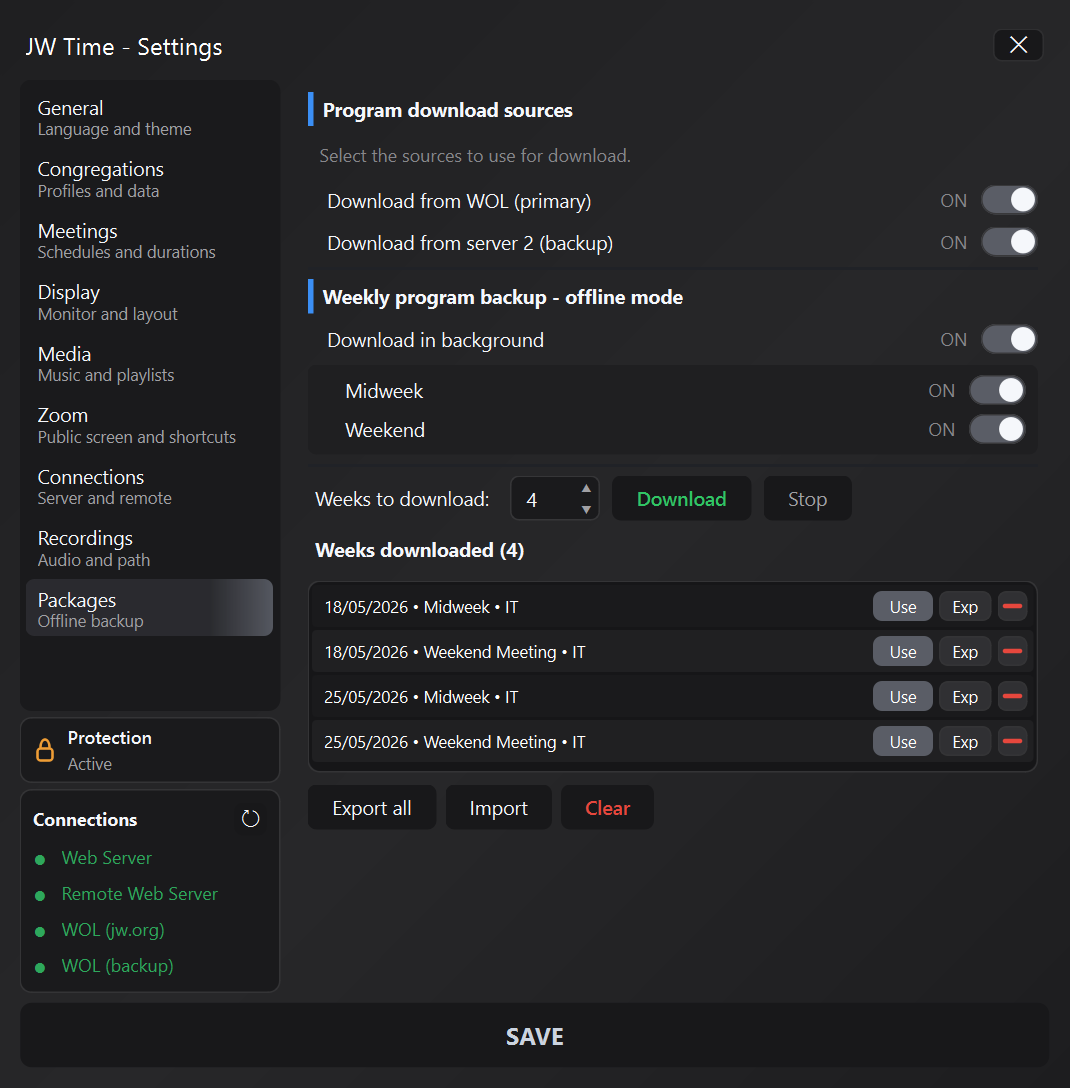
The Load from backup opens a list of packages saved locally, sorted by date, type of meeting and language. It is ideal for working offline or restoring already prepared programs to another PC.
The manual list is useful when the schedule does not come from the weekly program or when you want to prepare a special program. You can create or edit entries via the dedicated editing window, setting the type, title and duration, and save the result to reuse it later.

Choose what to include in the file. Program and media: Includes rows, times, local files, URLs, and groups from the Media window. Program only: Includes only rows and times, without media.
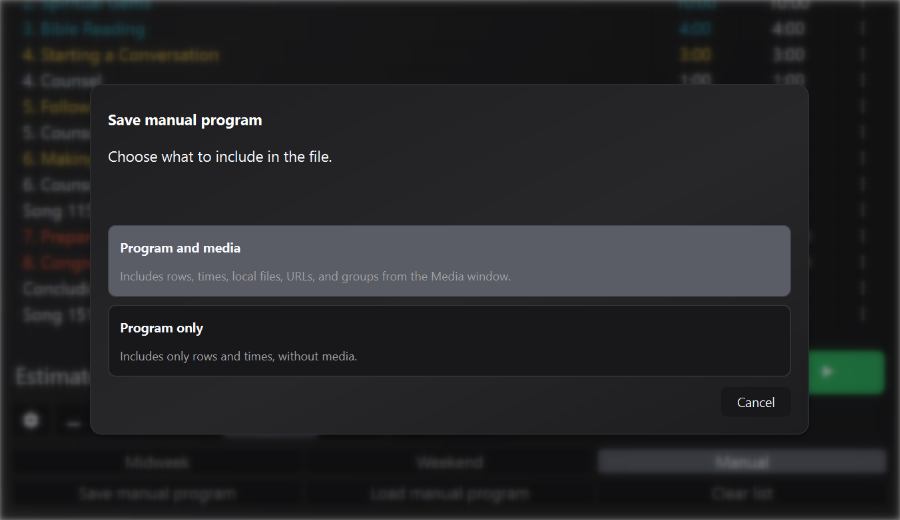
When you attach media to a manual list, saving and loading maintain the link to the prepared program. This is useful for special meetings, local assemblies, or programs that do not follow the standard week.
If a file is no longer available, the app notifies you when you open or use the Media Window, so you can replace it before the meeting.
To add a song, use the input menu and choose the song item. This way JW Time correctly records the song number, connects the available media and the Time Counter Screen adapts the display without having to manually write the title in the line.
Meeting recovery: if the computer or JW Time restarts during a meeting, you can continue from where you left off, including special events.
Recovery remains available for a period calculated from the time still remaining in the schedule, with a minimum of 20 and a maximum of 60 minutes.
Version 4.2.0 preserves the active row and program, special event, songs, any automatic pause, and the state needed to realign the media more accurately.
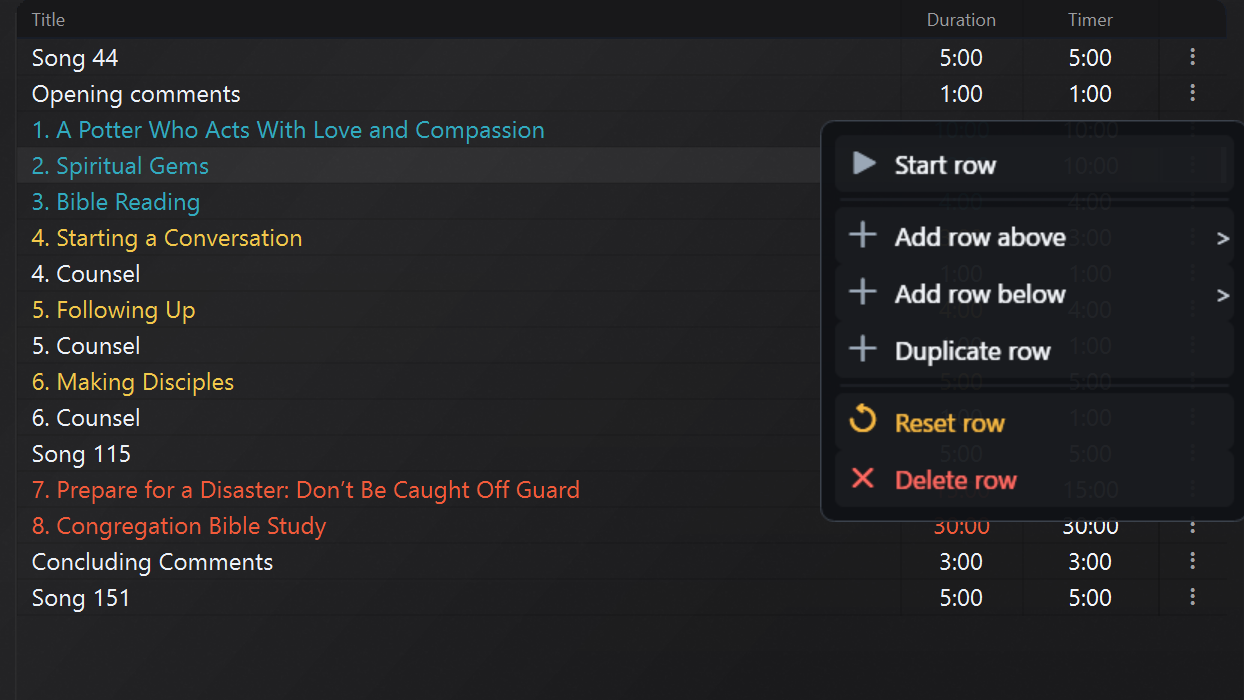
This section explains the main timer management operations — such as adding, editing or deleting entries — and the use of start, jump, and reset commands.
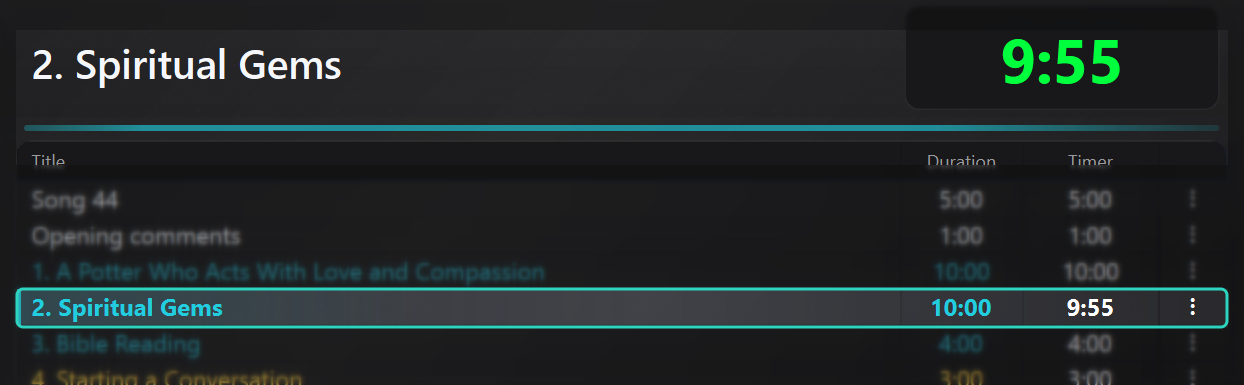
The timer updates constantly: the main countdown at the top shows the remaining time of the active part, while the corresponding row remains highlighted in the table. The color of the top bar picks up the color of the part in progress.
If you change a duration or move on to the next part, the Estimated End Time is recalculated immediately. This allows to check the lead/lag delta and the time accumulated for pauses or speaker changes without opening other panels.

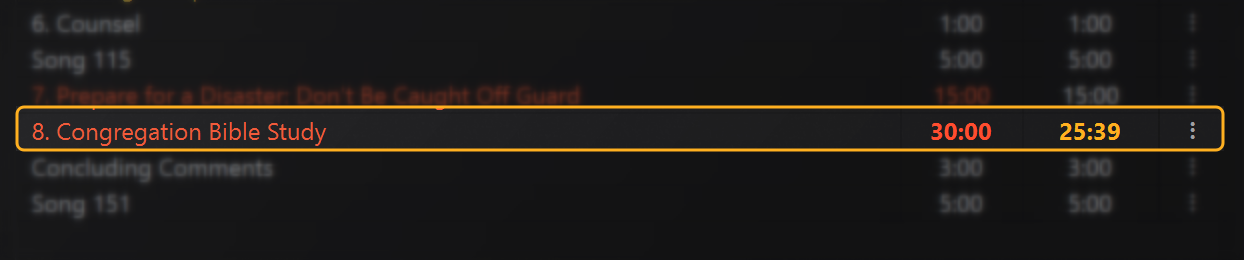
If Adaptive Bible Study and/or Adaptive Watchtower Study are enabled in Settings, the appropriate app dynamically the duration of the selected part to maintain the closing time of the meeting. Adaptation concerns only the parts with active option and can automatically increase or reduce the minutes based on the accumulated advance/delay. In the image, the affected line is isolated and the adjusted value is highlighted in orange, so it is immediately clear which timer has been corrected. You can always intervene manually: the adaptive recalculates starting from the new situation.
The Media Window collects the contents linked to the week: songs, videos, images and useful references to the part. It can help the operator prepare for the meeting, check available content, and launch it when needed.
Usage note: the Media Window gives the operator a support tool for preparing, checking, and managing multimedia content that is already available. Its practical use depends on local needs and should always be in harmony with congregation direction and arrangements. In case of a technical need, it can also be used as a support or fallback solution.
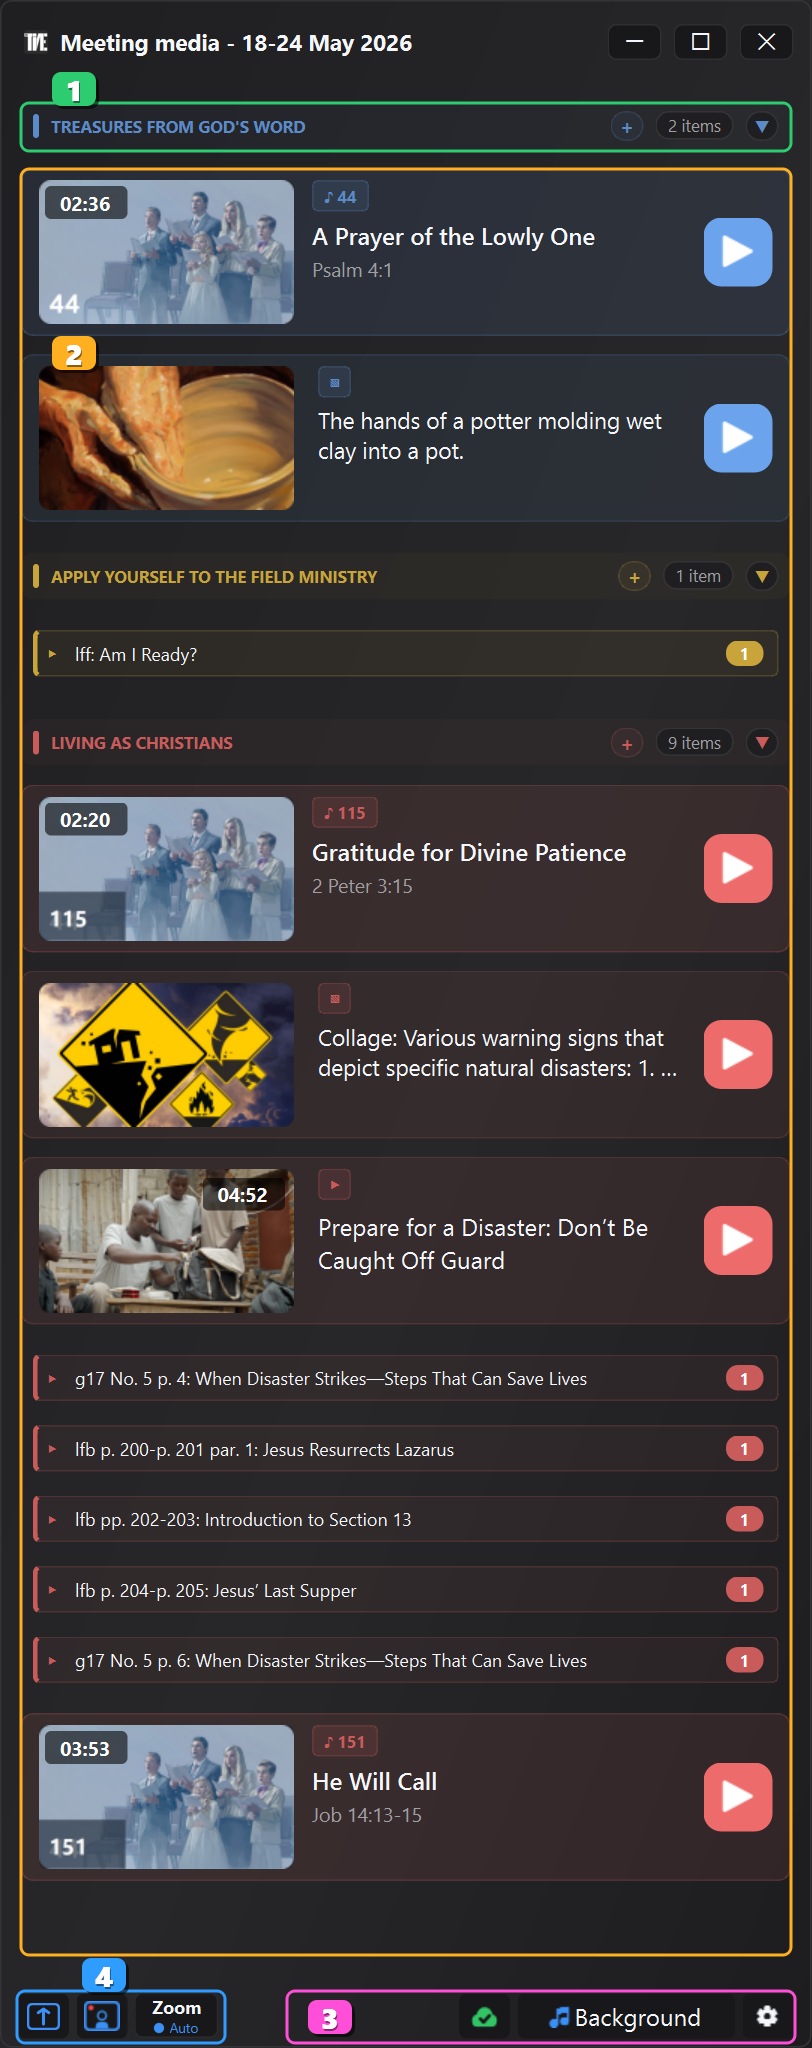
Area 1 indicates when the official media of the week is not yet available offline. You can download them immediately or postpone. The same behavior can be automated from the section 13 · Media settings, activating the automatic download of official media. Below the notice you will find the sections of the schedule, with colored title, item counter and quick commands.
Note: downloading official media requires the network to allow JW Time to access jw.org and the resources used for media. The alternate download introduced for programs is not available for media. If routers, firewalls, DNS services, or content filters block religious sites or JW Time access, official media may not download; in that case you can use media already available offline or add local files manually.
Area 2 contains tabs with preview, title, reference and start button. The colors reflect the areas of the schedule, so you can quickly locate songs, images, videos and references related to the part.
From the context menu you can manually mark an item as used or not used. If Dim used media is enabled, used items remain recognizable with a more subdued style. The official video, audio and image pickers also include Global mode when you need to search outside the current category.
Area 3 collects the quick commands of the Media Window: downloaded contents, preview, synchronization, background and dedicated settings. It stays at the bottom to be reachable even when the list is long.
Area 4 collects the Zoom controls of the Media Window. They are designed for those who show media even in video conference and work with the Public Screen on the room monitor.
Before using these keys, set up a global screen sharing shortcut in Zoom and enter the same combination in section 14 · Zoom. If the two shortcuts do not match, JW Time sends the command but Zoom does not react as expected.
In JW Time 4.2.0, starting, stopping, and switching between media is more responsive, and synchronization with Zoom sharing is more reliable.
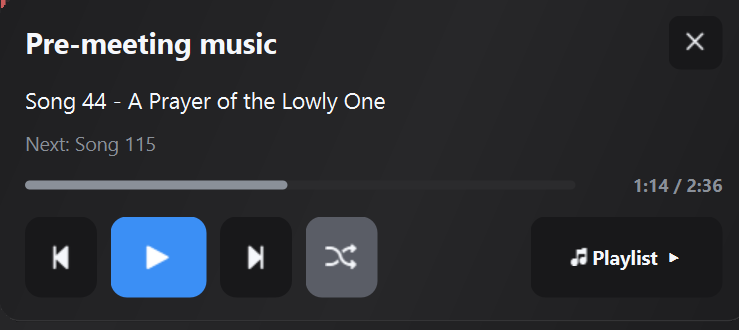
The Background panel manages the music before the meeting and, if configured, also after the meeting, without mixing it with the schedule media. During playback it shows current song, next song, progress and duration.
You can start, pause, skip to the previous or next song, activate shuffle and open the playlist. The music settings, including automatic behavior and fades, are configured from the section 13 · Media.
JW Time 4.0 separates the views: the Public Screen is used for content visible to the room, while the Time Counter Screen remains dedicated to those who follow the times.
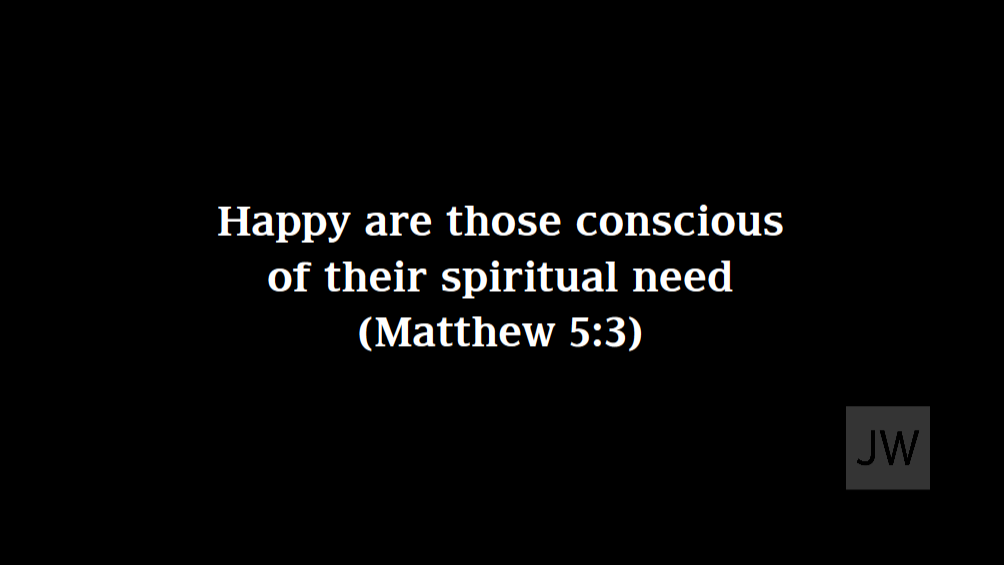
The Public Screen shows countdown, welcome message, year text, logo and content views in a separate window.
The following images show two possible configurations. The year text and logo can be shown or hidden; the countdown and message appear when included in the active scene and configuration.
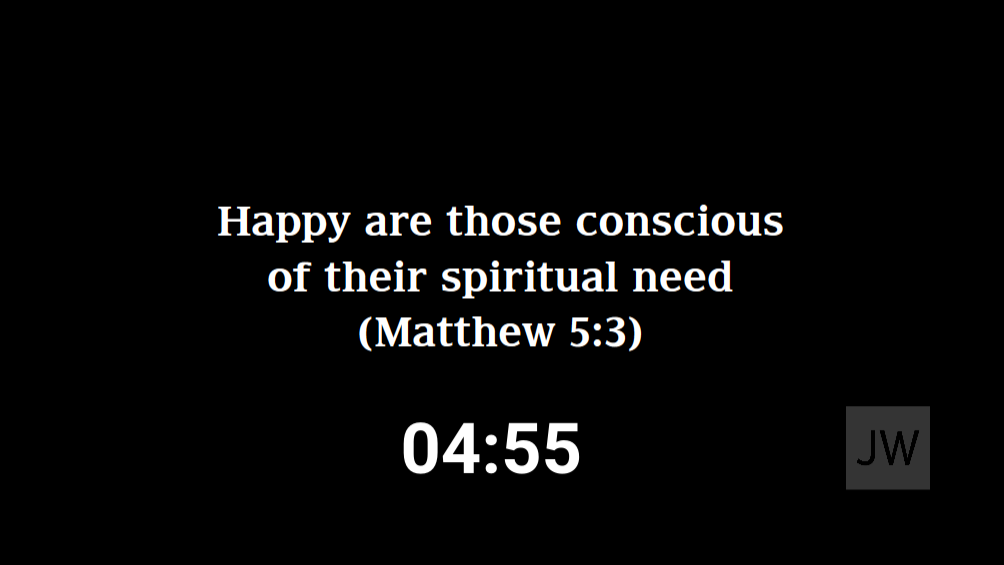
The Time Counter Screen shows the clock, countdown of the part in progress, messages for the speaker and states related to time management. It is the most suitable view for podium, chairman or time workers.
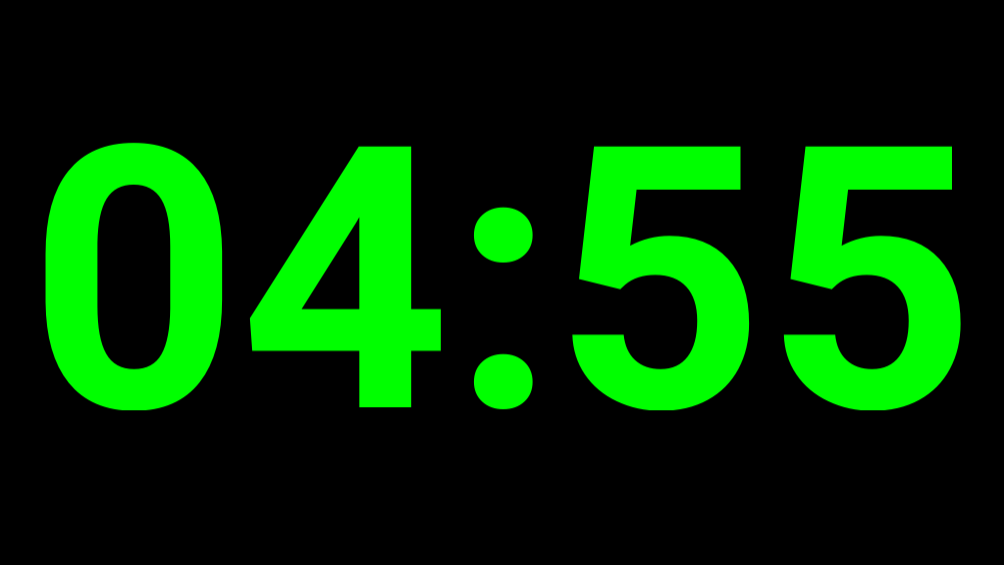
The preview is optional and is not enabled automatically for layouts already in use. It applies to images, videos, PDFs, and websites; audio-only content does not replace the normal timer scene. When you stop the media, the Time Counter Screen returns to the expected scene.
Layout customization is covered separately in section 5.3 · Customizing the Time Counter Screen, thus daily use of the screen remains separate from the graphics settings.
The Time Counter Screen can be customized from the Customize button in the section 9 · General.
You can start from a preset already available or modify the layout according to your needs. The Public Screen has own settings in the section 12 · Screen; here we focus the work on the layout of the Time Counter Screen.
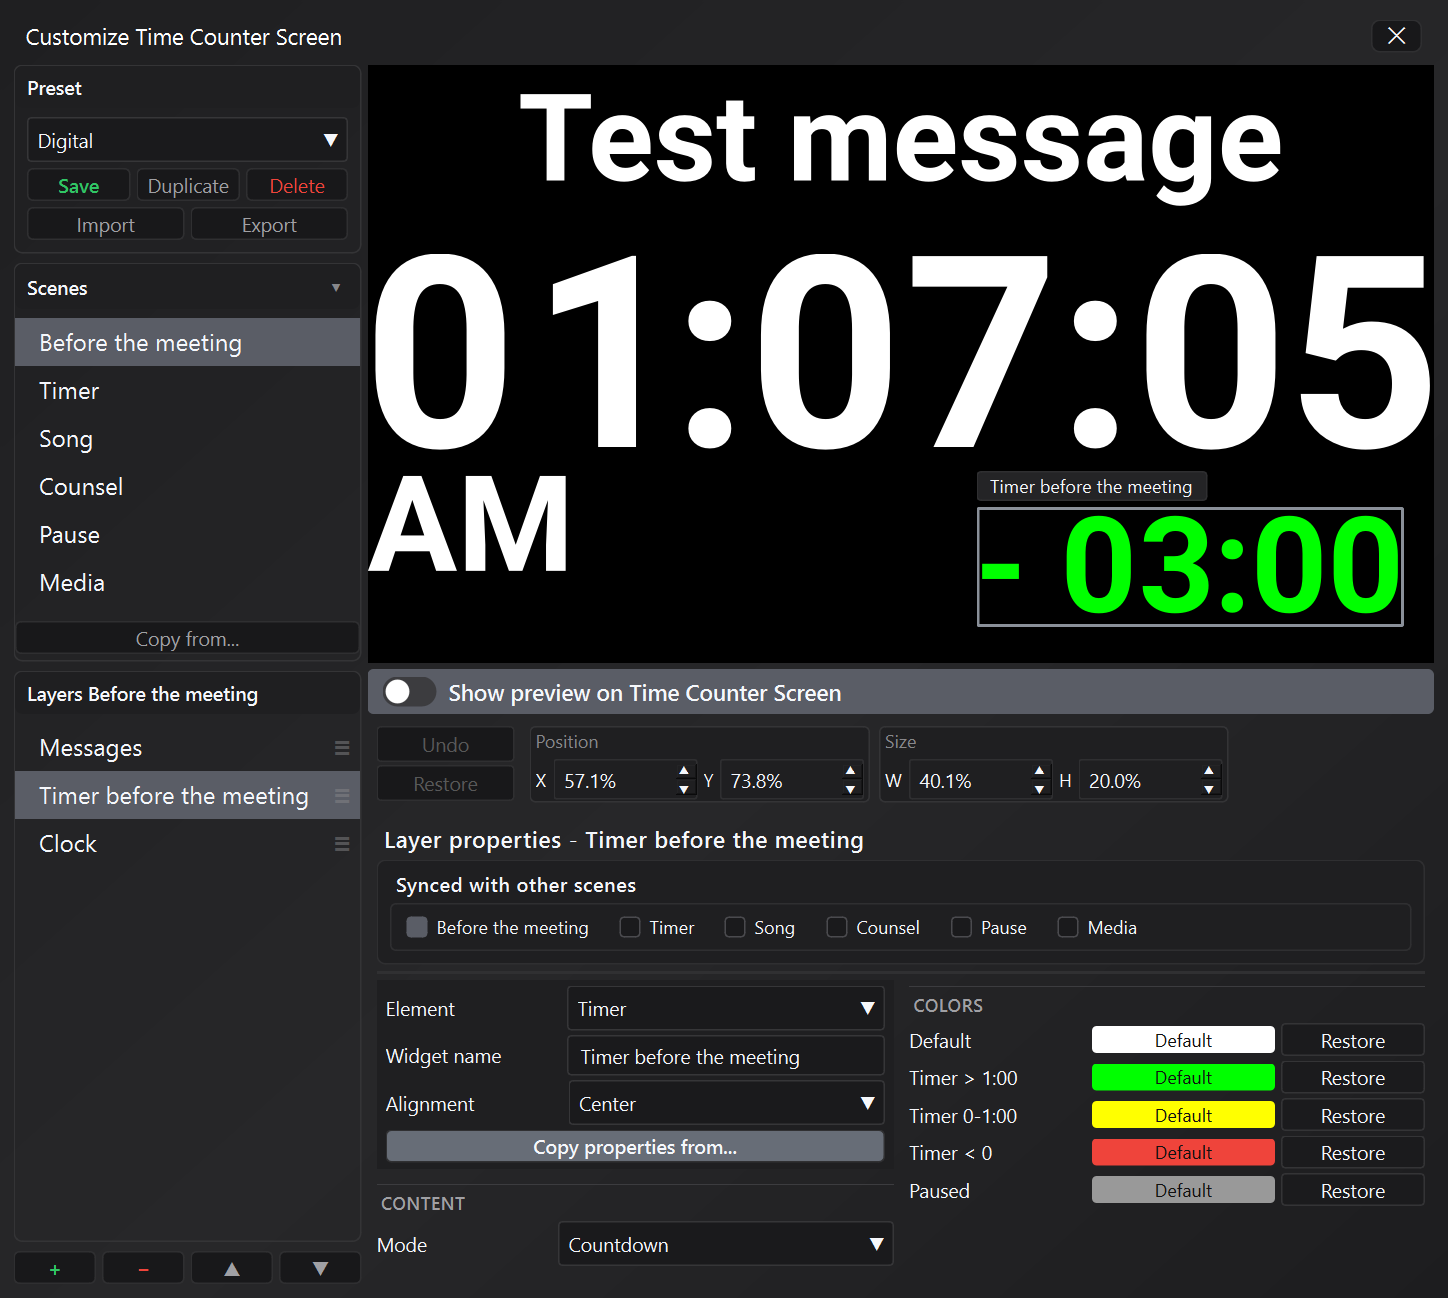
A preset is a starting layout.
You can select a preset in the section 9 · General and use it as is, or open the customization editor to edit it.
The layout is organized into scenes.
Each scene corresponds to a different situation on the Time Counter Screen. This allows you to show a different layout based on the time or type of part being viewed.
Before making changes, always check which scene is selected.
The Media scene is used while visual content is playing on the Public Display. If it is empty, select Configure media preview: the editor adds the Public Display layer, which reproduces on the Timer Display the same image actually shown to the audience.
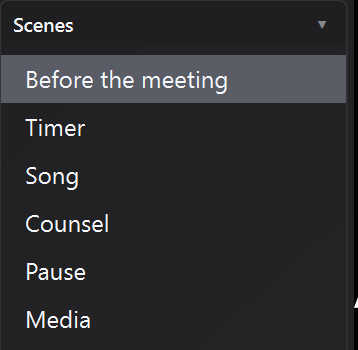
When you press + in the Layers panel, JW Time shows the item types you can add to the scene. Some levels read real meeting data and change automatically; others are used to build the graphic layout.
It is not convenient to show all the properties of each level in the manual, because the properties panel changes based on to the selected type. Here you will find what each level does and when to use it.
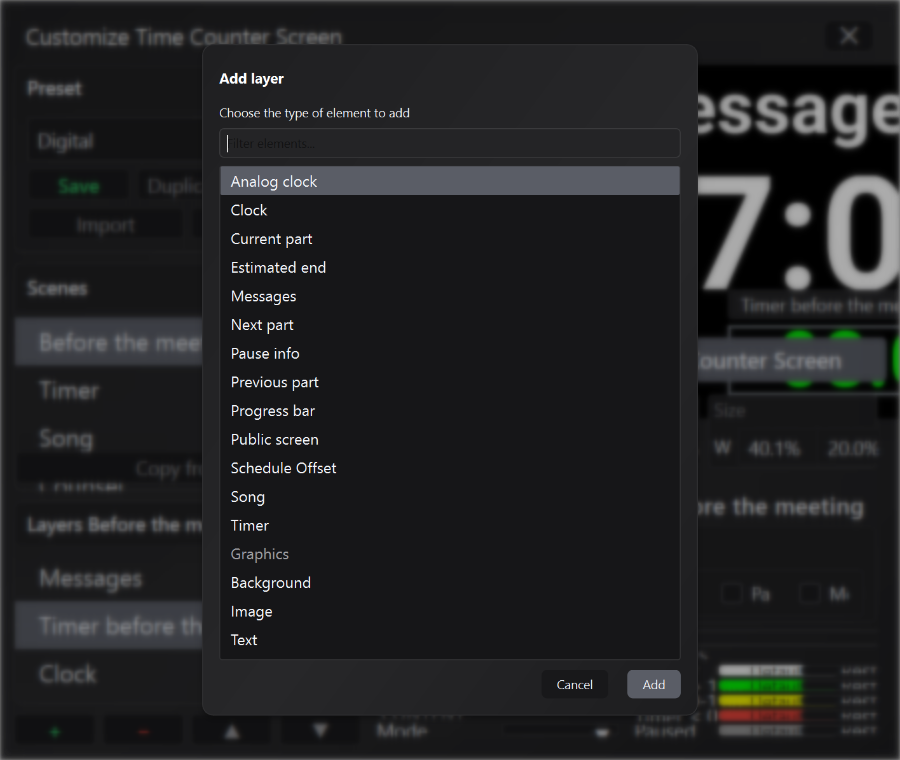
The Background, Text and Image layers can be added multiple times. For other levels, if an element of the same type already exists, the editor offers you to link it to another scene or to create an independent one when required.
In the editor you can edit the layers present in the selected scene.
For each layer you can change the position and size in three ways:
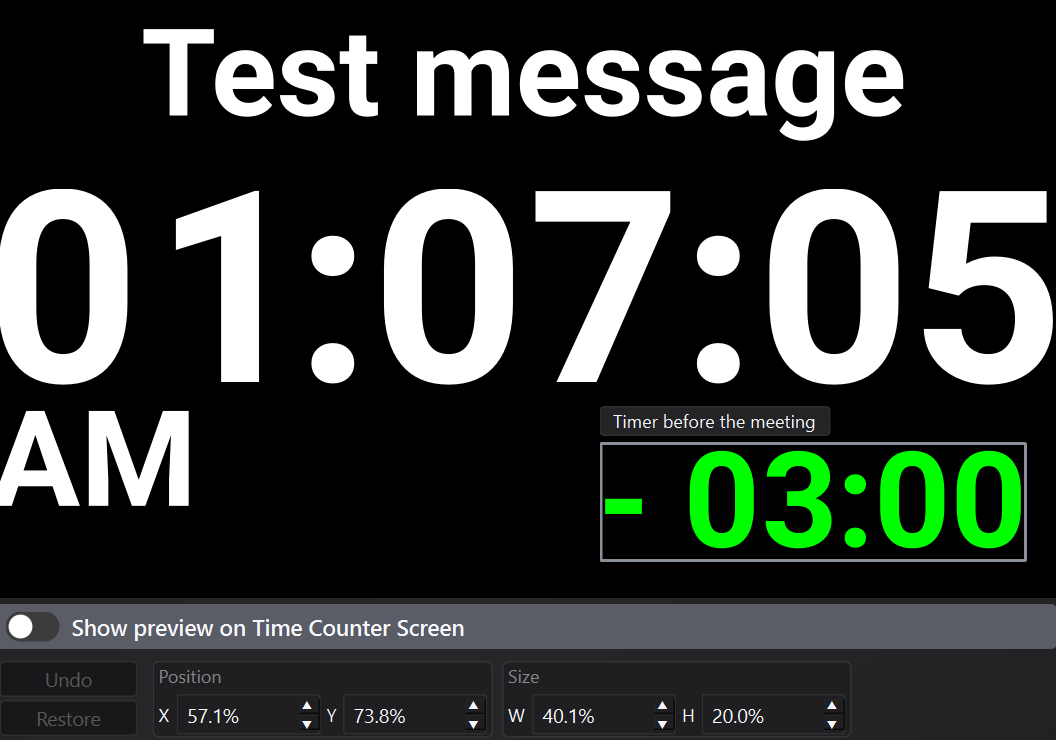
The X and Y values control the position of the layer.
The Width and Height values control the size of the layer.
All these values are expressed as a percentage.
In the layers panel you can also manage thesuperposition order: every level can stay above or below the others, determining which appears in the foreground in case of overlap. You can change the order by dragging the layers in the list or by using the buttons ▲ and ▼ underneath it.
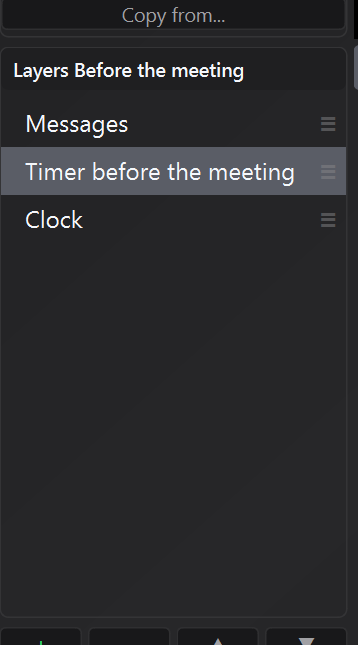
After selecting a level, you can:
Below the preview you will find the numeric controls X, Y, Width and Alt to adjust position and size precisely.
After changes, save the layout and apply it. You can reopen the editor at any time to update it.
The Messages feature lets you choose the destination before sending: Time Counter Screen, for communicating with the speaker during the meeting, or Public Screen, for notices visible to the audience before or after the meeting.

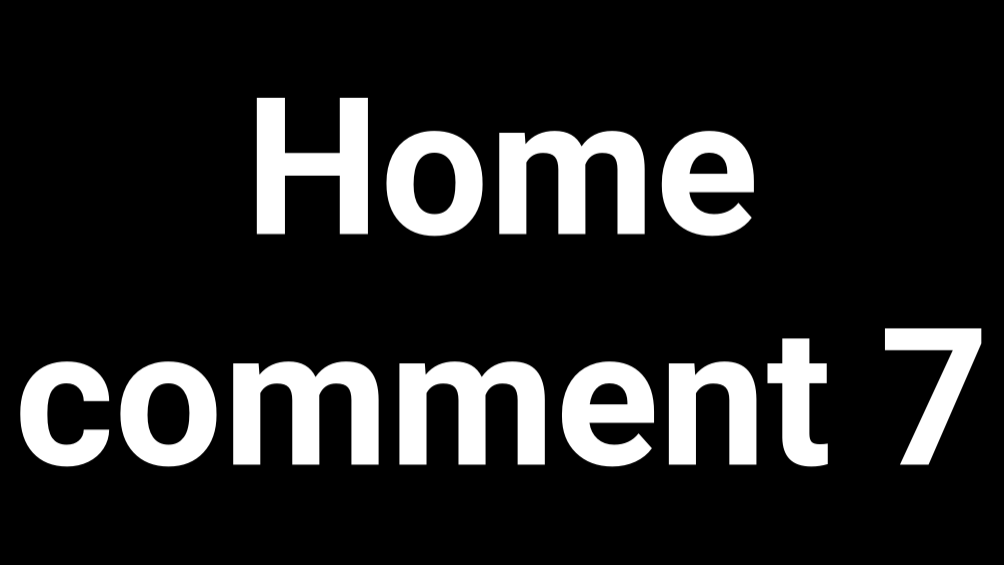
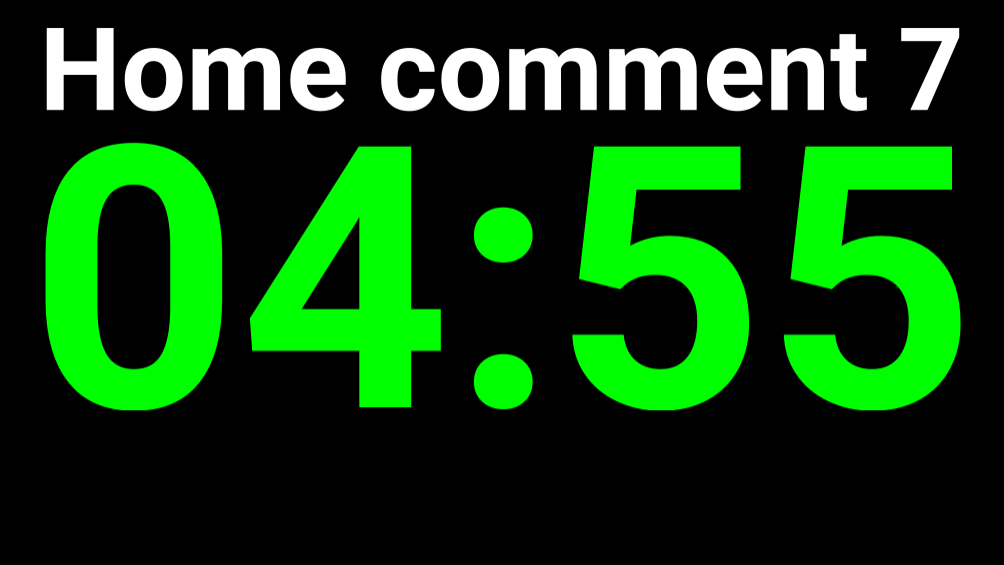

The Public Screen must be enabled and open. A partial message uses the Message area of the layout; full-screen mode also works with earlier presets. Messages are temporary: they are not saved or exported and are cleared when you change congregation, restart JW Time, or start the meeting.
If you start an image, video, PDF, or website, the media temporarily covers the public message; after Stop, the message may reappear if the meeting phase has not changed.
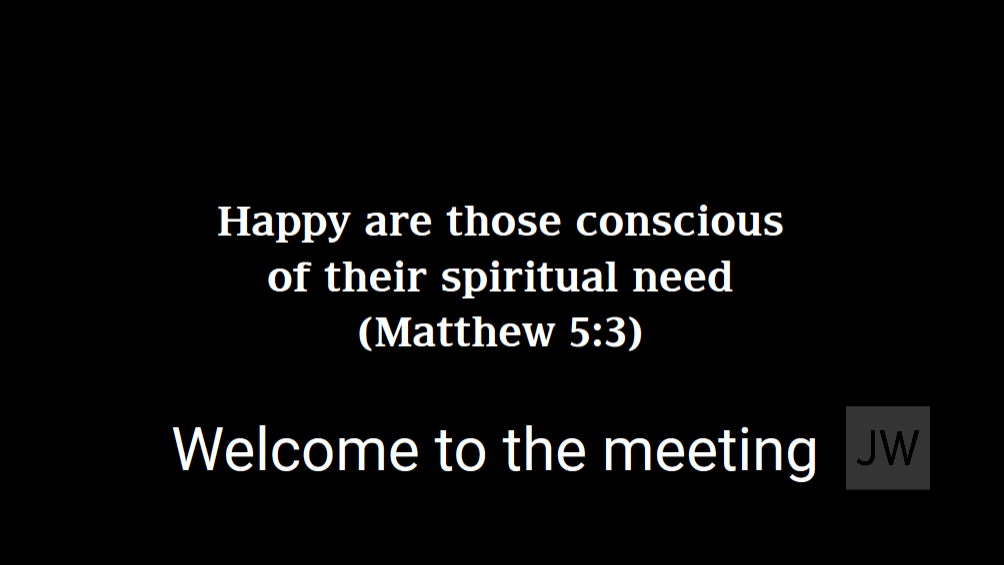
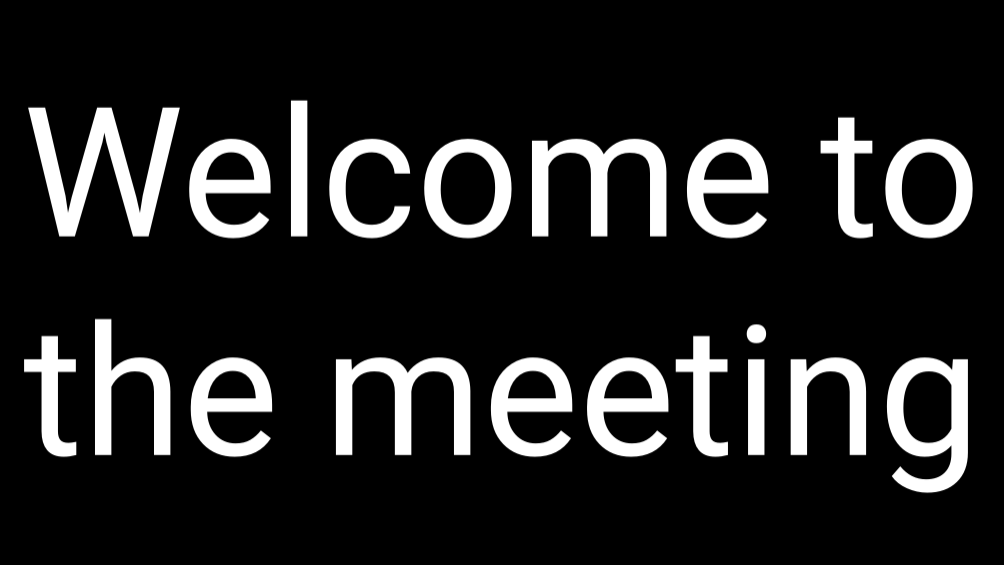
When you send a message to the Time Counter Screen displayed on a monitor other than the main one, a floating, resizable and movable thumbnail appears and reproduces what the speaker sees. Messages sent to the Public Screen do not open this thumbnail because the result is already visible directly on that screen.
This message thumbnail is separate from the media-content preview embedded in the Digital with media preview layout of the Time Counter Screen.
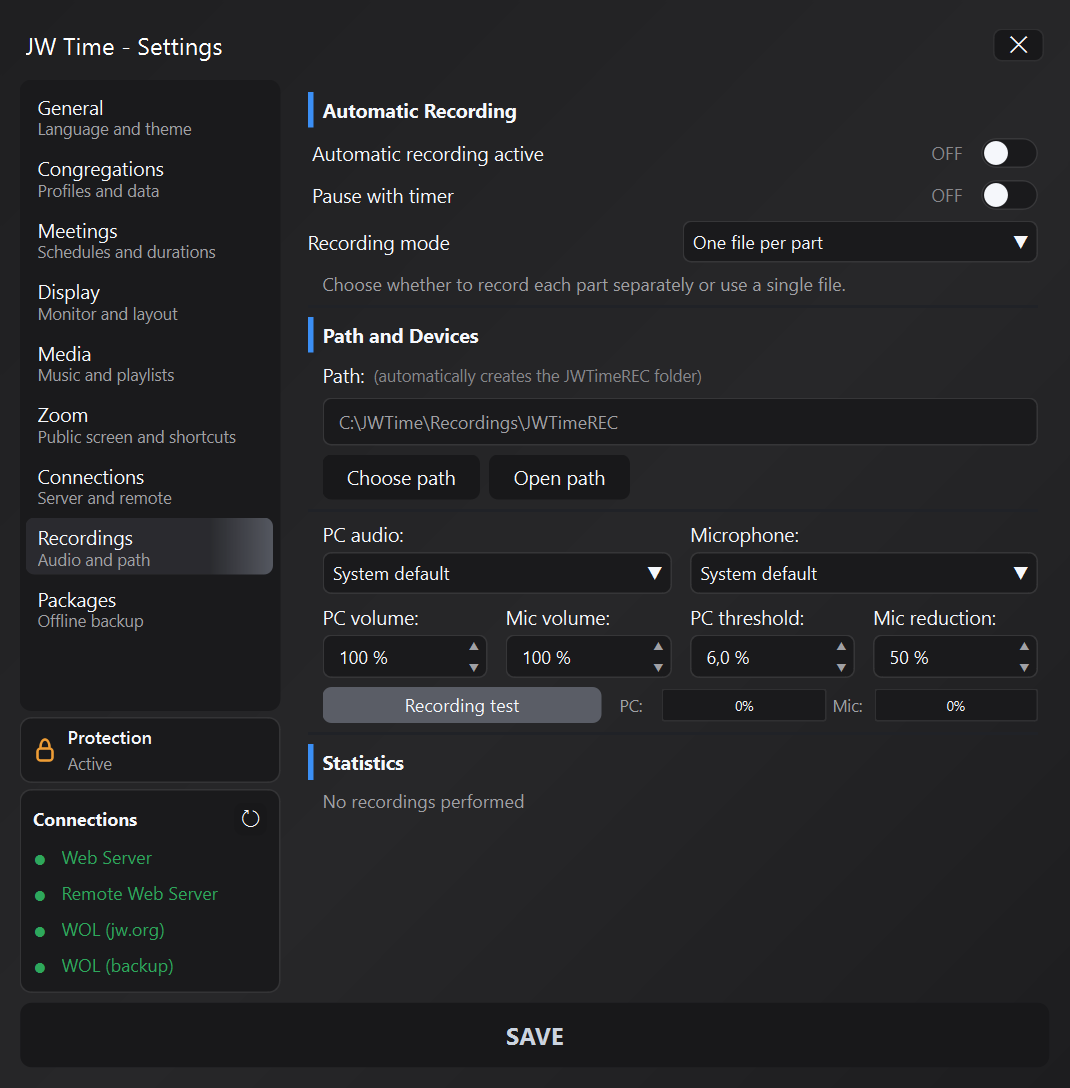
The REC button is located in the bottom bar next to Program and Message. The dot next to the text shows the recording status (wait, active, paused or MP3 conversion), while the REC panel provides quick controls to open the JWTimeREC folder, manage manual recordings, and monitor PC and microphone audio levels.
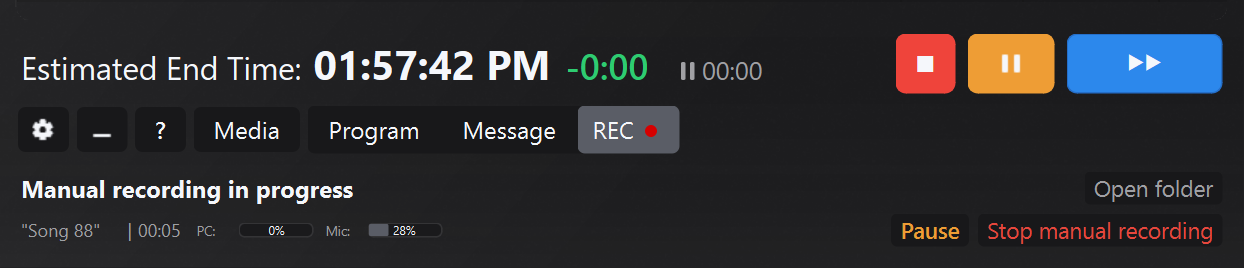
The REC panel collects the controls to be used without entering the settings:
When you open REC, an always visible panel appears in the lower bar with recording status and audio meter. Here you can start/stop manual recordings, monitor PC/Mic levels and open the JWTimeREC folder with a single click.
When the Web Server is active, you can open it from another device on the same local network via browser. This allows the Time Counter Screen to be displayed on external projectors, tablets or computers, and is useful for the chairman who follows the timer of the various parts.
For the complete configuration of the Web Server, remote control, remote link and QR, see section 15 · Connection and Server.
From the browser you can:
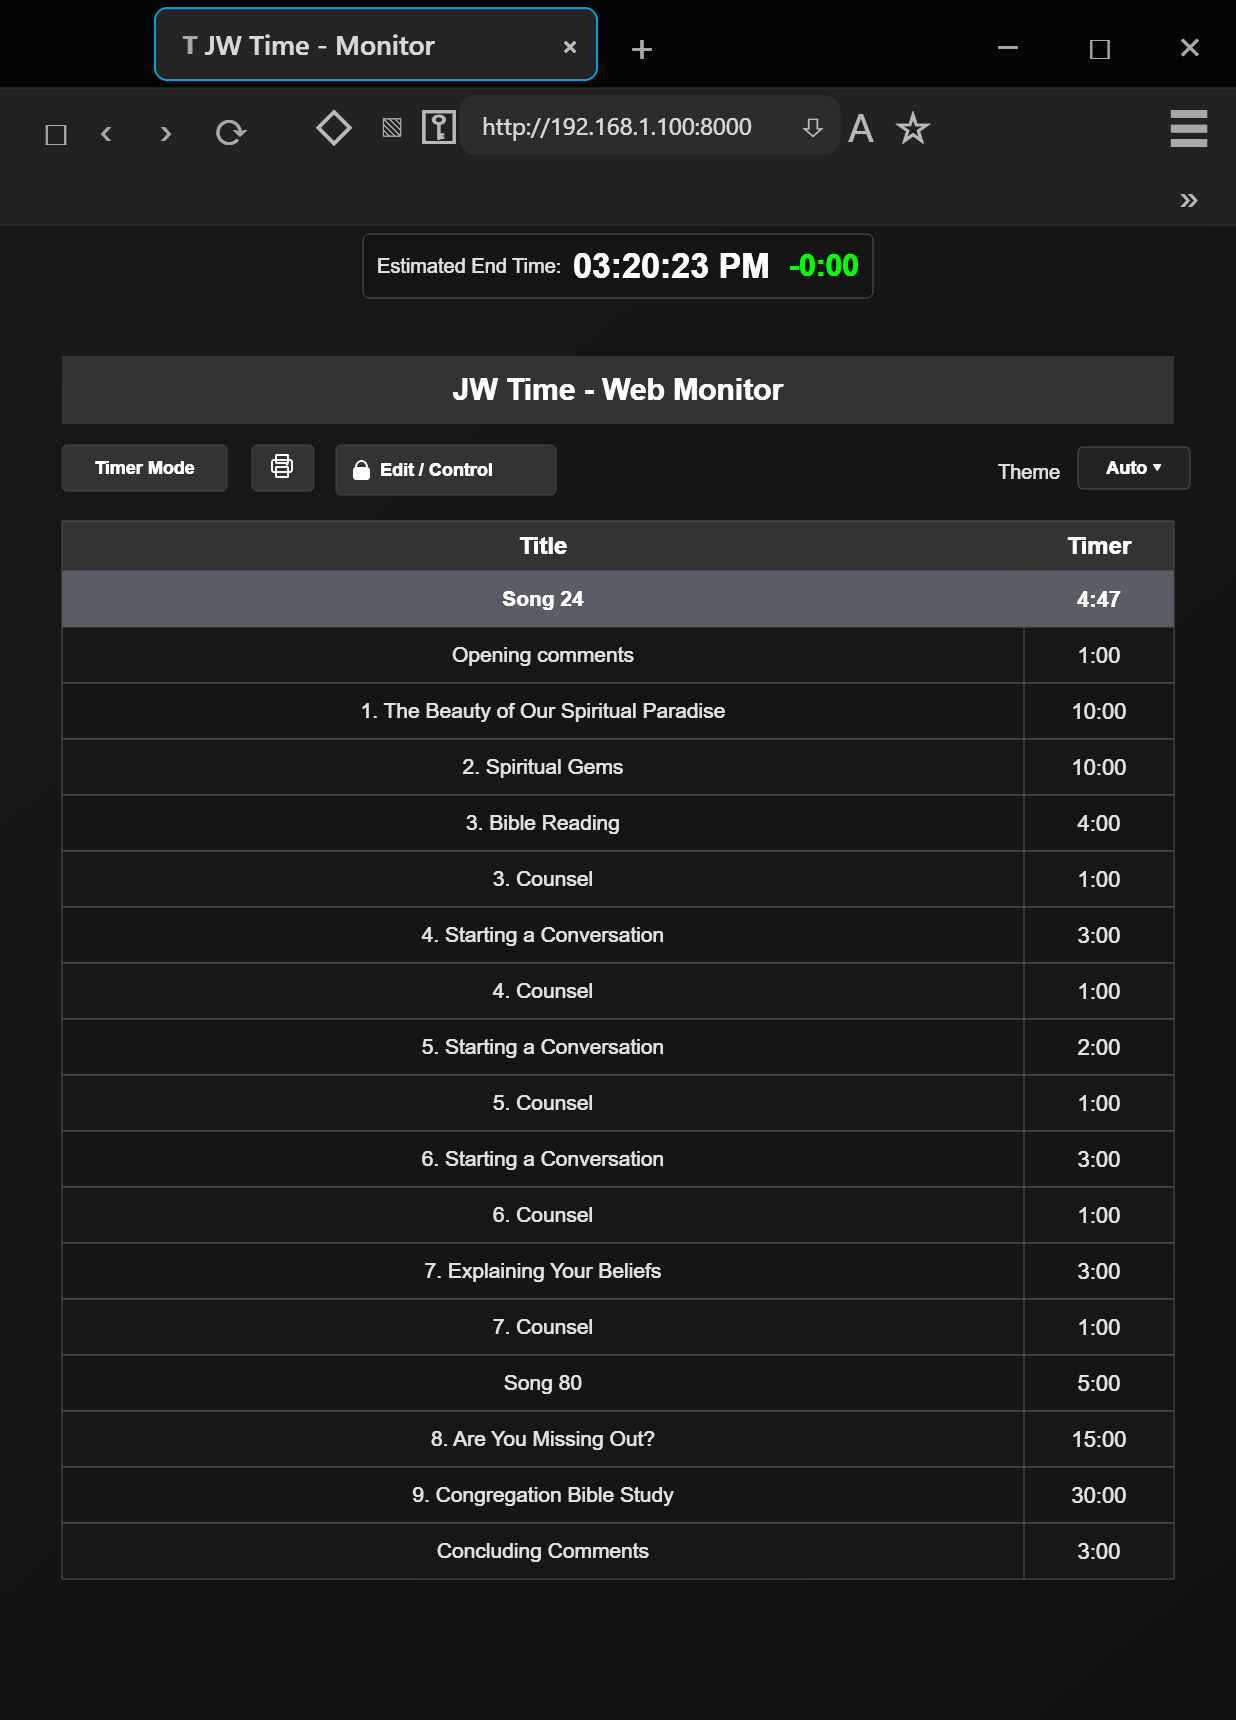
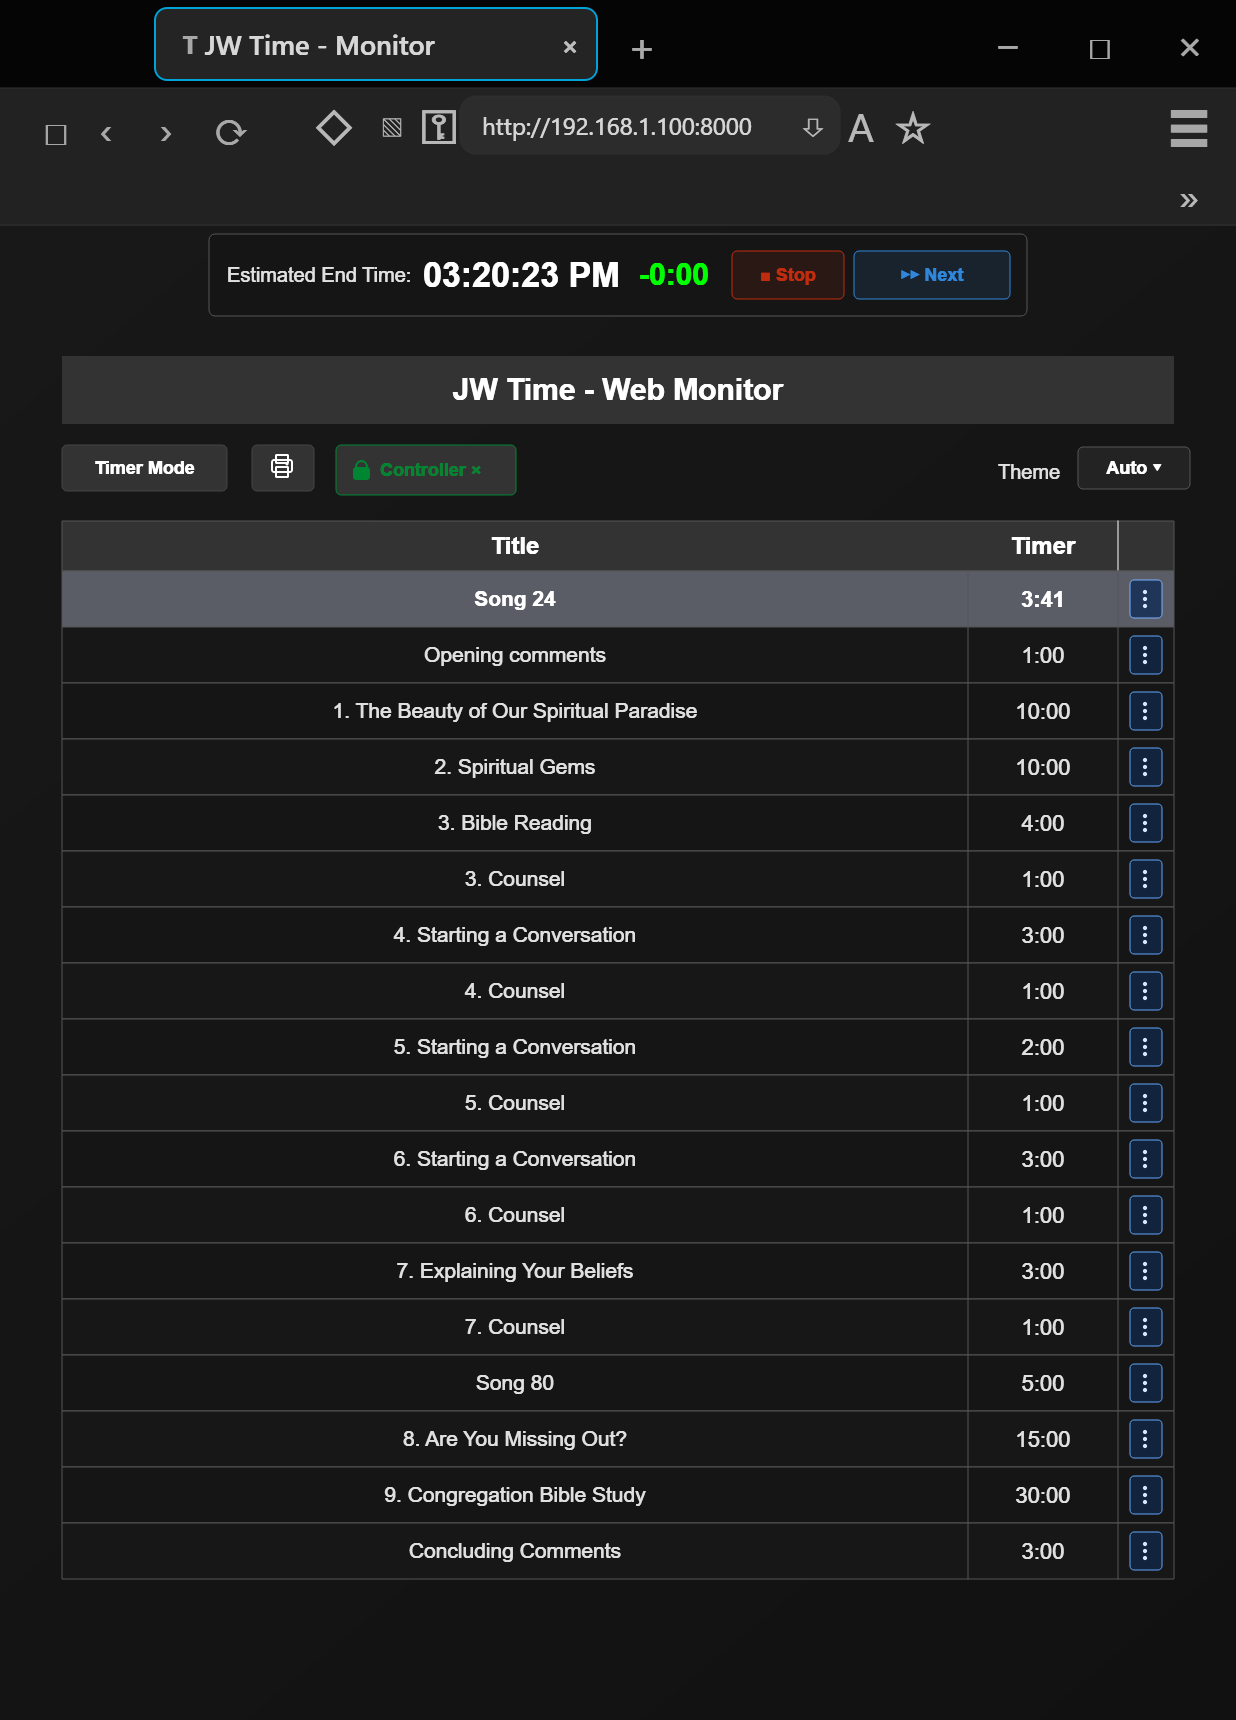
If remote control is enabled, from the browser you can intervene on timer and program without being in front of the main computer.
Available operations depend on the configured permissions and may include:
You can open the Web Server by entering the address shown in the app, or using the QR if available.
Depending on the configuration, different levels of access may be provided, for example for access only viewing or for control and modification. If configured, access may require a PIN.
For the complete configuration, see section 15 · Connection and Server.
When the person who needs to follow or control JW Time is not in the same local network, you can generate a temporary remote link. This scenario is useful for videoconferencing meetings, remote assistance or management from a connected device to another network.
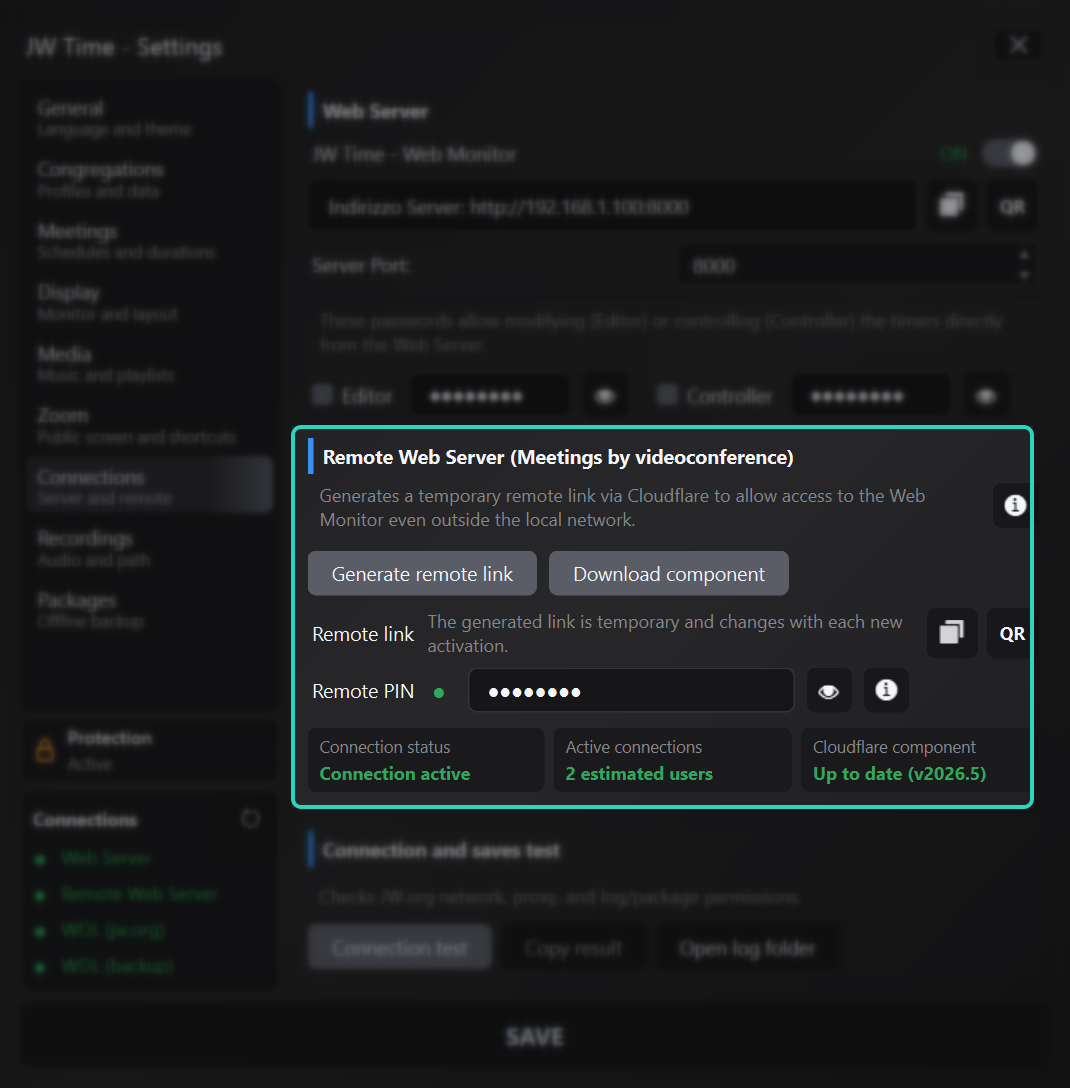
The operational part is configured in section 15.2 · Remote Web Server. Zoom settings remain separate: Zoom manages sharing and shortcuts, while the remote link concerns the Web Monitor.
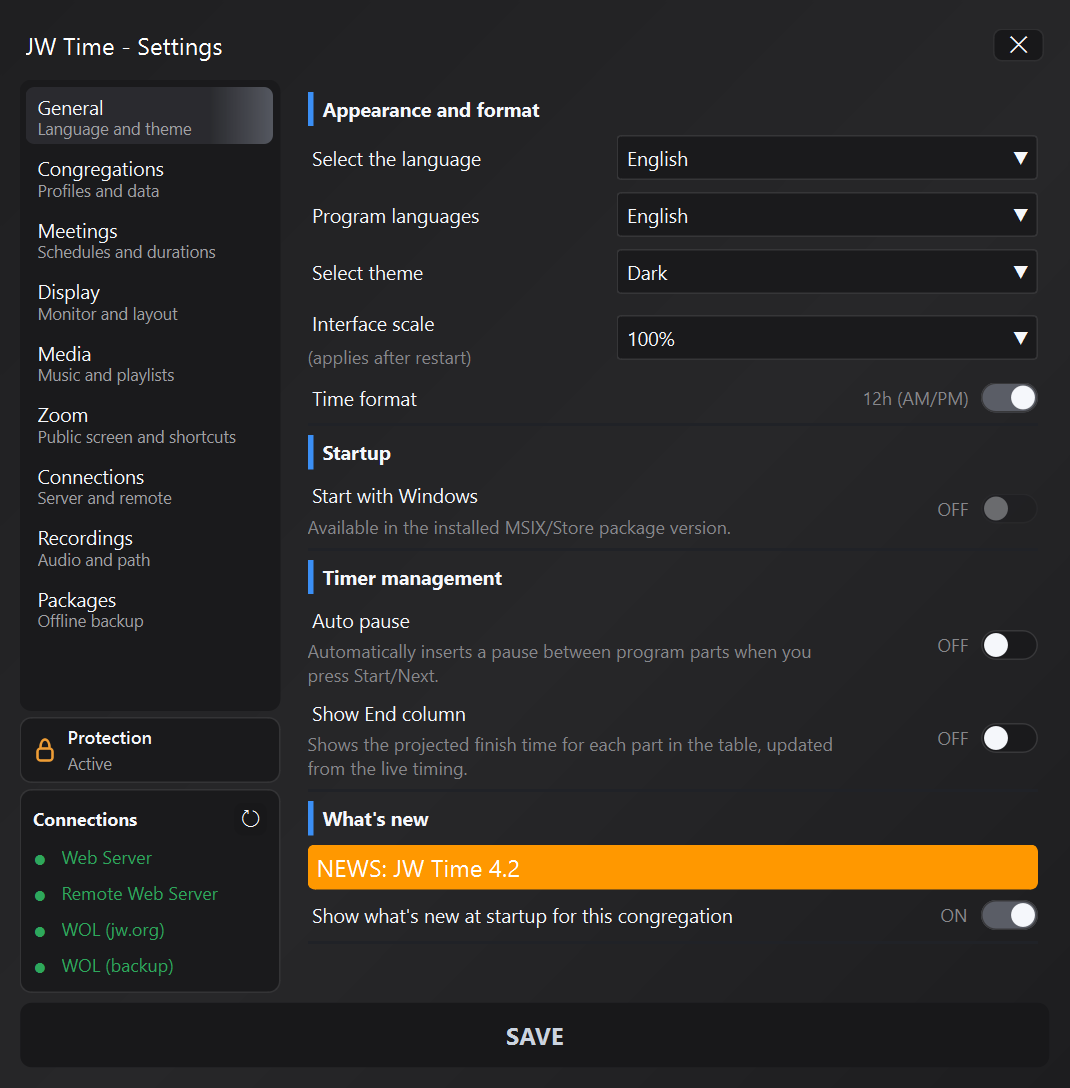
In this part you can configure the behavior of the app: general settings, congregation profiles, meetings, Time Counter Screen, Media, Zoom, Web & Server Monitor, Recordings and Backup & Restore.
The SAVE button applies all changes.
The Protection bar below the panel list helps prevent accidental or unauthorized configuration changes. It is a local operational safeguard, not data encryption or an online account, and it applies to every congregation on this PC.
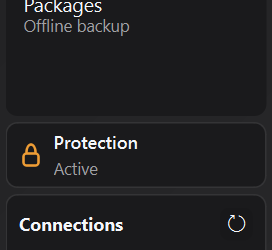
From the management panel, you can change the password, generate a new recovery code, or turn off protection. The password and recovery code are local to the PC and are not included in backups.
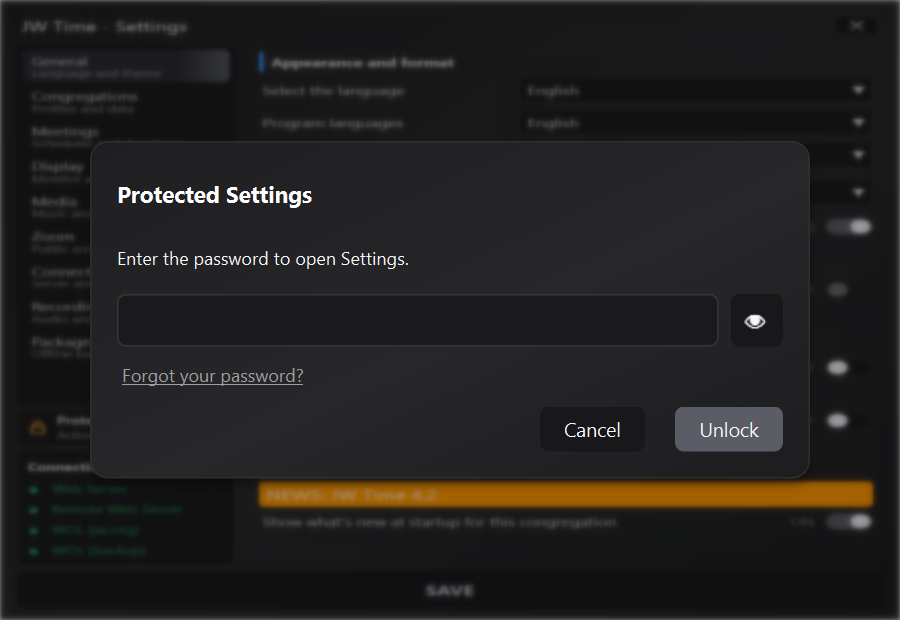
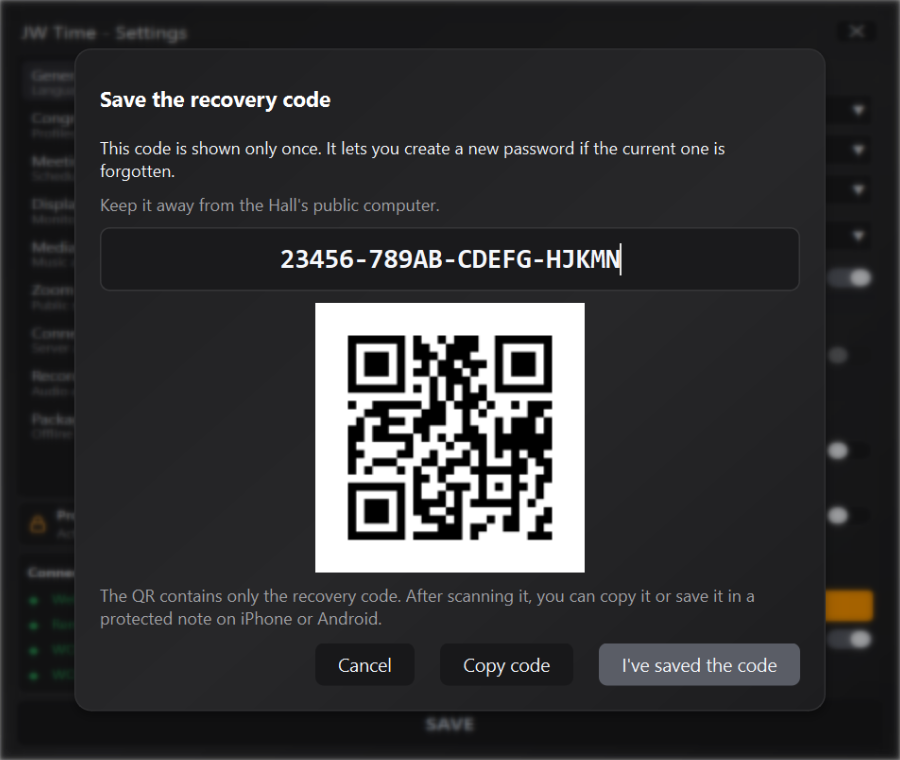
.jwtimebackup offered by the procedure and save it outside the app’s private folder.The emergency backup is created without unlocking Settings, so you can safeguard the configuration before resetting the app.
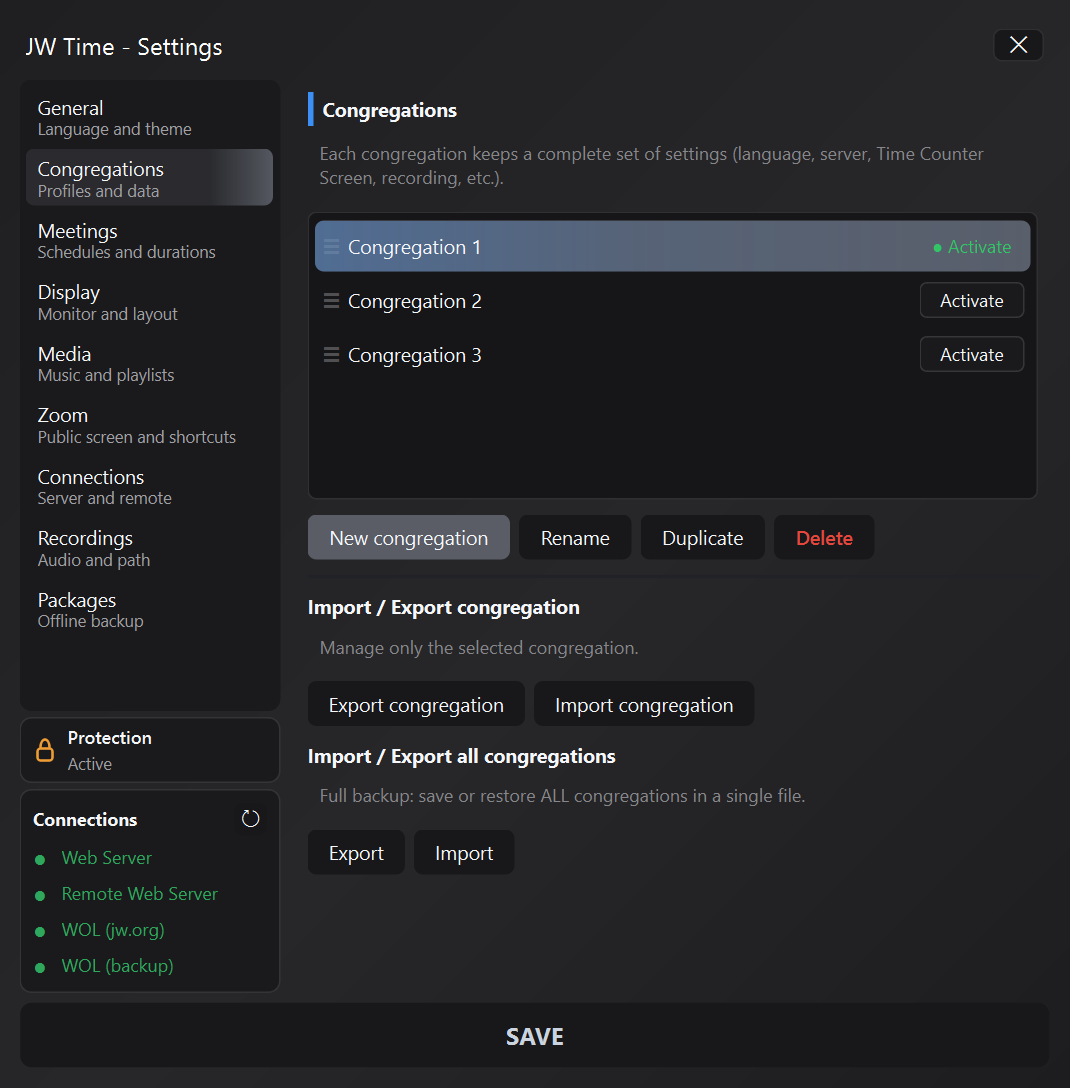
This panel allows you to manage congregation profiles. Each profile can maintain dedicated configurations, so JW Time can adapt to different contexts without having to reconfigure windows, media and layout every time.
This panel is used to program the meeting start countdown on the Public Screen. You set the day, time and advance (in minutes) you want to do start the countdown.
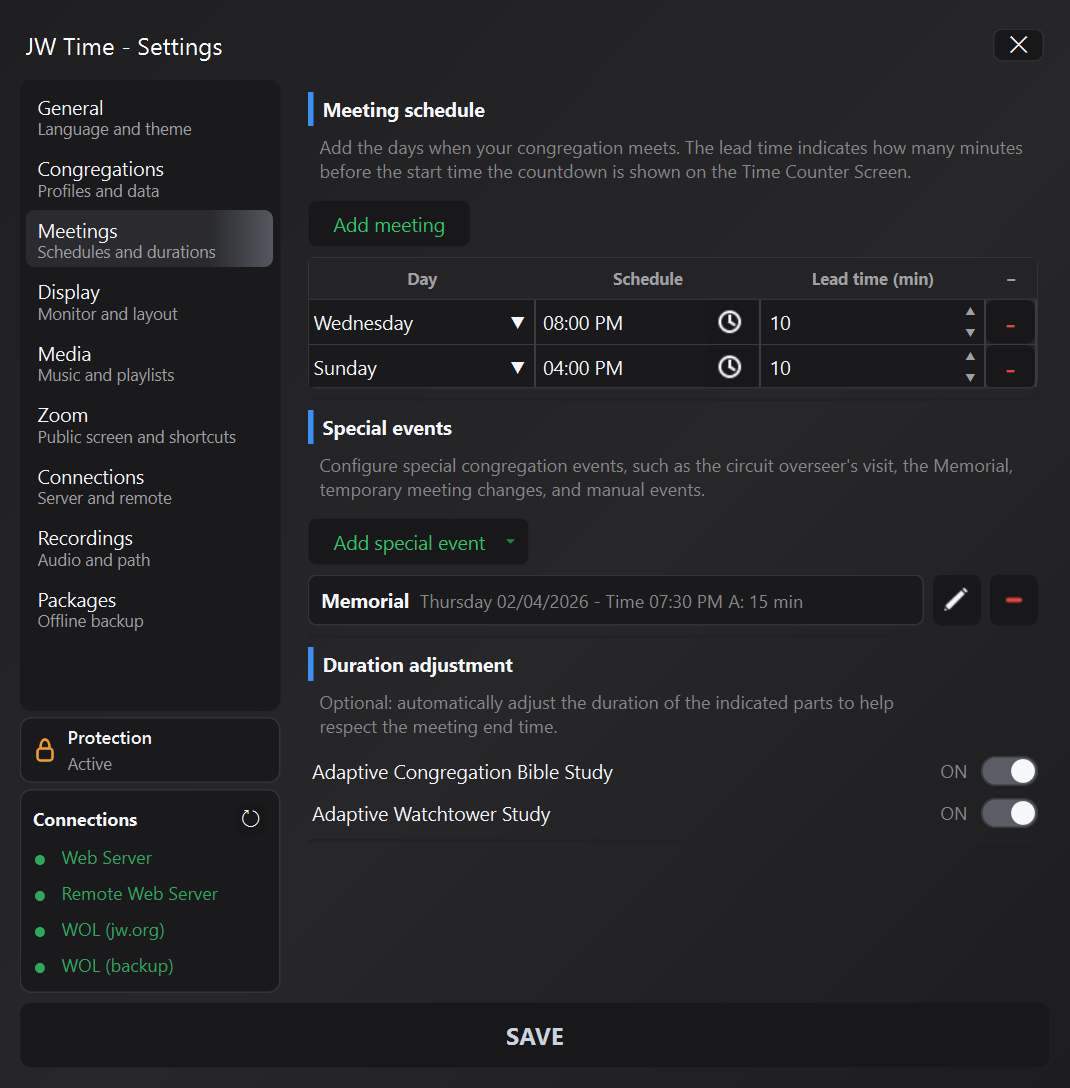
Note: the start times are for the public countdown; the Estimated End Time instead depends on the schedule and any duration adjustments.
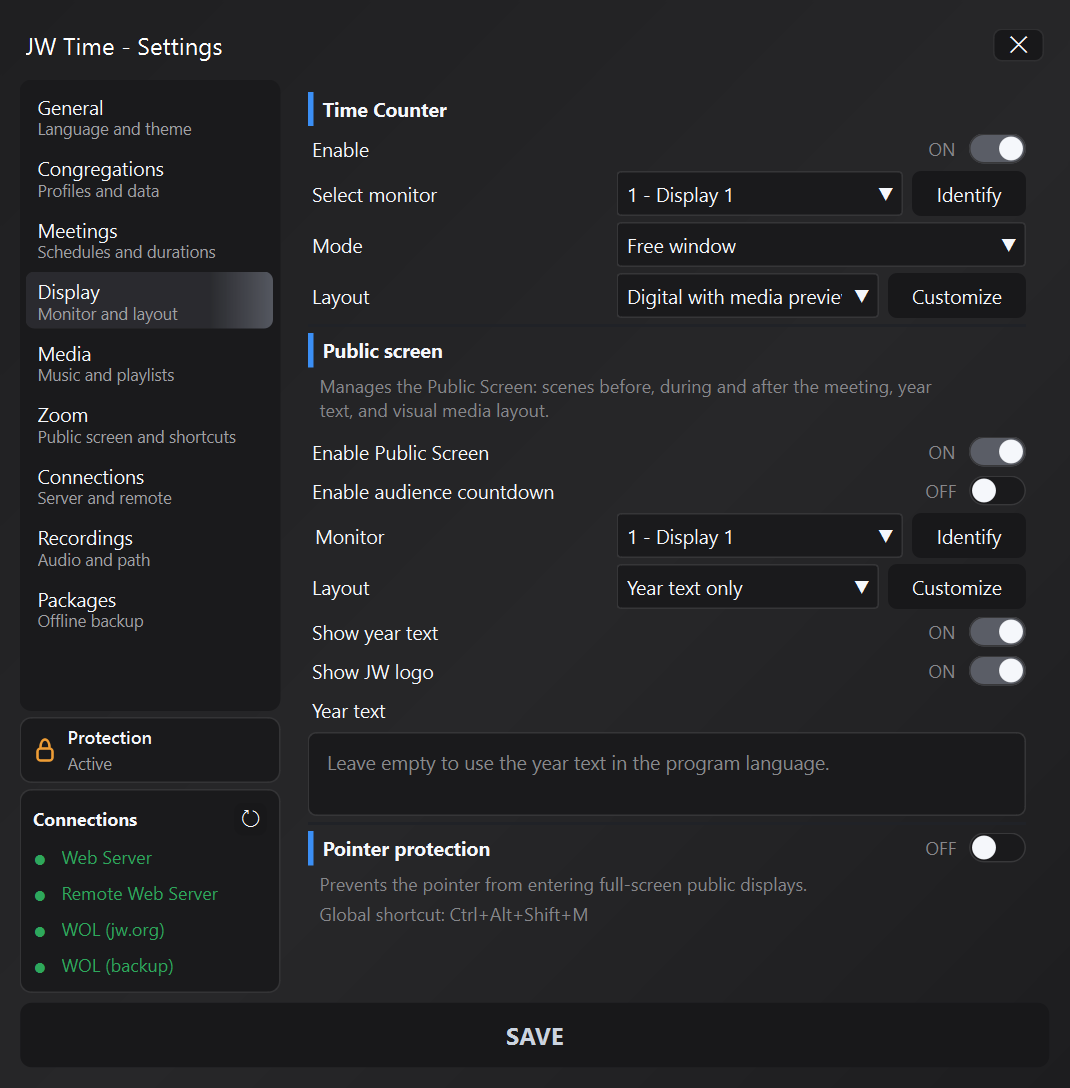
This panel collects the settings dedicated to the Time Counter Screen and the Public Screen. From here you can choose where to show the information, how to present it and which elements to make visible during the meeting.
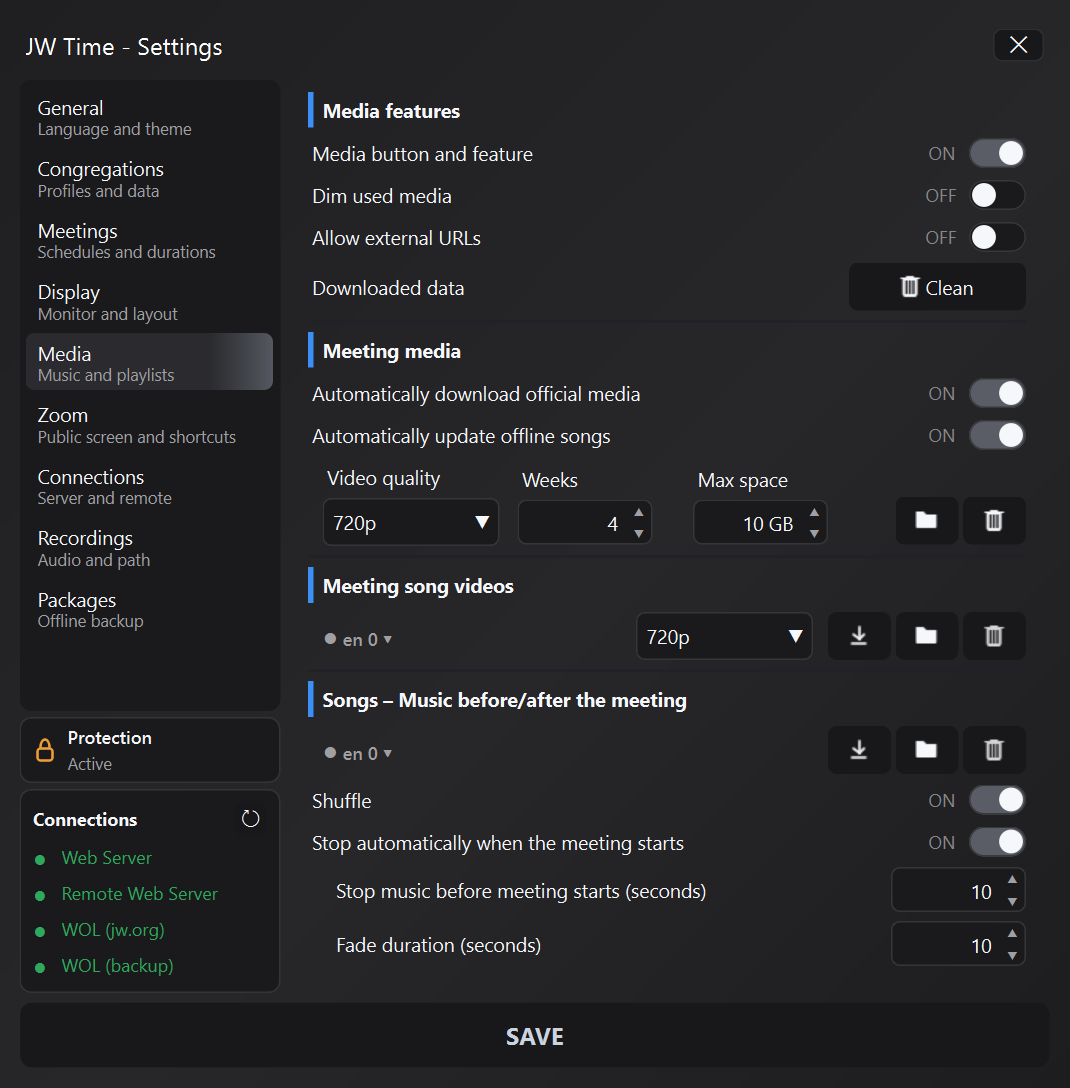
This panel manages the behavior of the Media Window, the local cache and the options linked to the contents used during or after the meeting.
This panel contains useful settings when JW Time is used together with Zoom or other configurations rooms that require dedicated audio/video controls. The options below power the Zoom keys of the section 4 · Media Window.
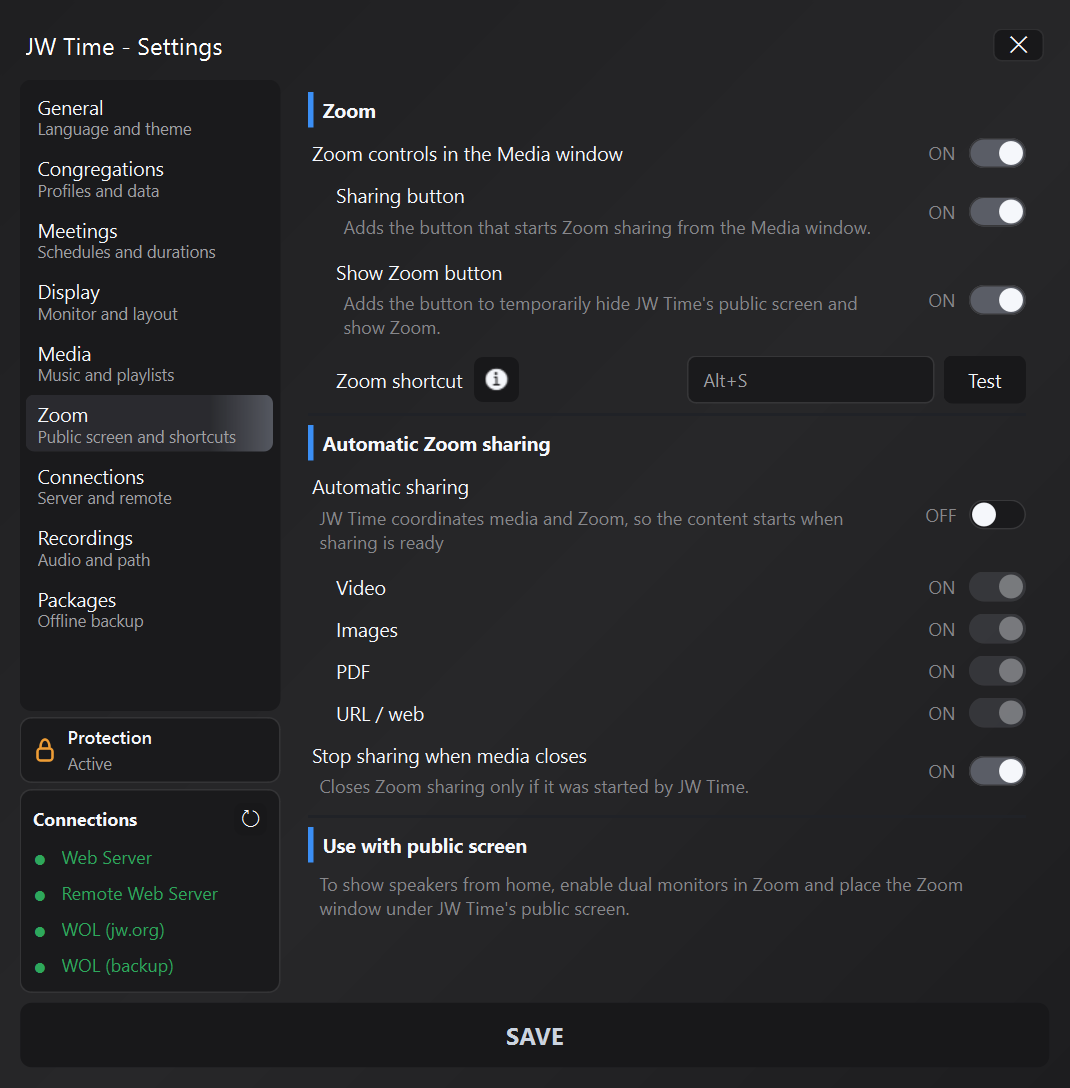
JW Time does not choose the window or screen to share in Zoom for you: send the key combination that you indicated in this panel. For this reason the same shortcut must also be active in the settings of Zoom, preferably as a global shortcut. If you use a different combination in Zoom, the Sharing key and Zoom Auto mode may not work reliably.
Before the meeting, check the complete flow: prepare Zoom on the public monitor, place the Public Screen below the speakers window or the duplicate Zoom screen, try the shortcut with Test and then use the controls from the Media Window.
Version 4.2.0 makes coordination between media changes, Public Display status, and starting or stopping Zoom sharing more reliable.
If someone needs to consult or control JW Time from offline during a video conference meeting, it cannot be configured from Zoom: use section 8.3 · Remote access for videoconference meetings. In this panel only shortcuts, sharing and management of the Zoom window remain.
This panel manages the app's connectivity: the Web Monitor and the Web Server for viewing and control from the browser, the QR for quick access, remote control, advanced connection tests and log management.
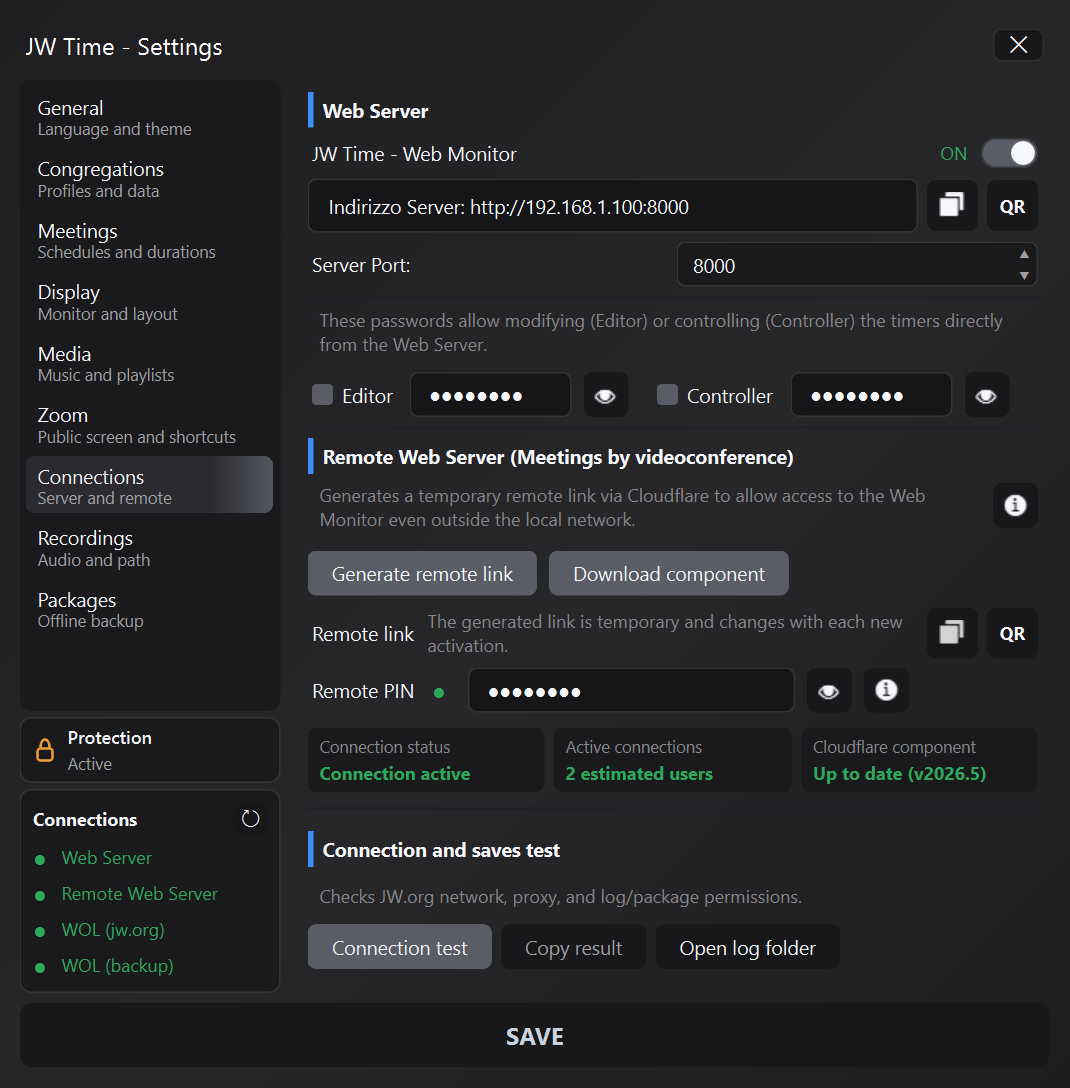
http://192.168.1.100:8000.When the Web Server is active, JW Time can be opened from another device on the same local network via browser, to use the Web Monitor from your phone, tablet or another computer.
This section is used to make the Web Monitor reachable even outside the local network, for example during meetings via videoconference. For context of use, see the section 8.3 · Remote access for videoconference meetings; here you will find the practical controls.
If the function is enabled, the Web Server can be used not only for viewing, but also for executing Remotely timer and program operations. When the Controller role is enabled, the web screen shows also controls to intervene on available values, for example the duration of a part.
Among these the following may be available:
Depending on the configuration, different access levels may be available, in order to distinguish simple consultation from the control or modification functions.
Audio recording function of meetings, accessible from the "Recordings" tab in the settings and from the REC button in the main window.
This panel prepares weekly programs for offline use and allows you to export or import saved packages.
 JW Time